
SEARCH WHAT YOU WANT
The Right Order for a Shoe Care Kit: When to Use the Polish, the Brush and the Cloth
Time:2026-10-27
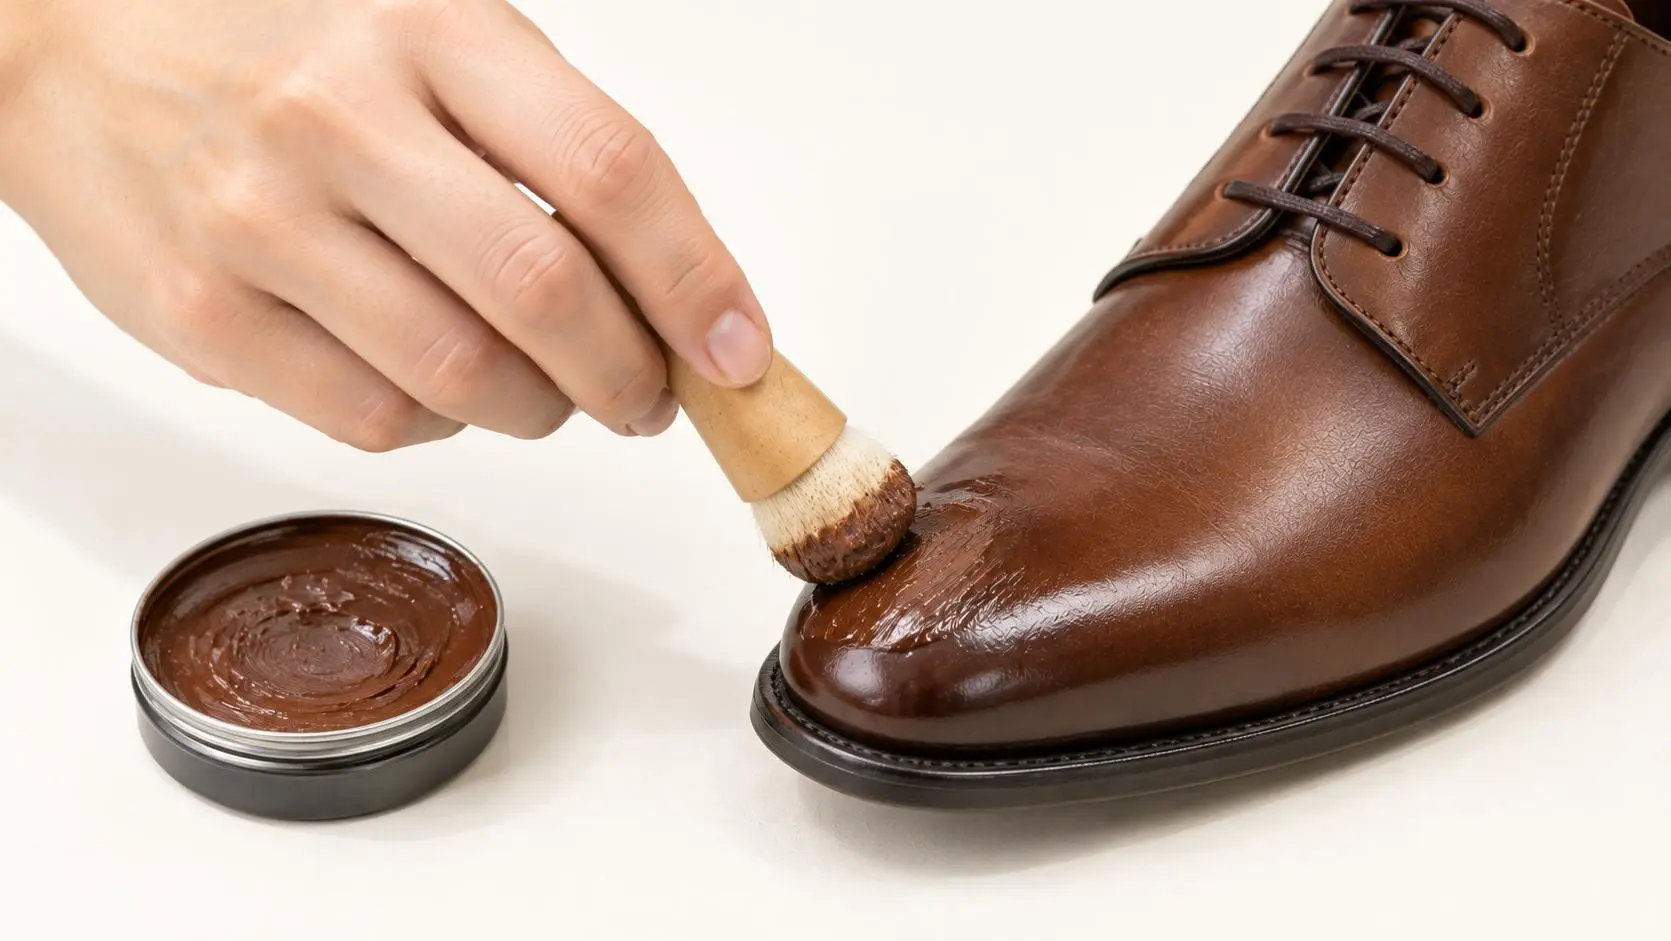
Overview. This article walks through the correct order of using a shoe care kit — when to brush, when to apply polish, when to wait, and when to bring out the buffing cloth — so the three items work together instead of against each other. It explains why the sequence matters more than the products themselves, lists the mistakes people make when they jump steps, and gives a simple routine that fits both a quick touch-up and a deeper care session. By the end you should know exactly what to pick up first, second and last each time you care for your shoes.
Why the Order Matters More Than the Products
Most people have been told which polish to buy, but very few have been taught the sequence. A good polish used in the wrong order can still leave the shoe looking streaky, while a modest polish used in the right order produces a clean, even finish. The reason is simple: each step prepares the surface for the next. If you buff before the polish has set, you wipe the product off. If you apply polish to a dusty shoe, you seal grit into the leather.
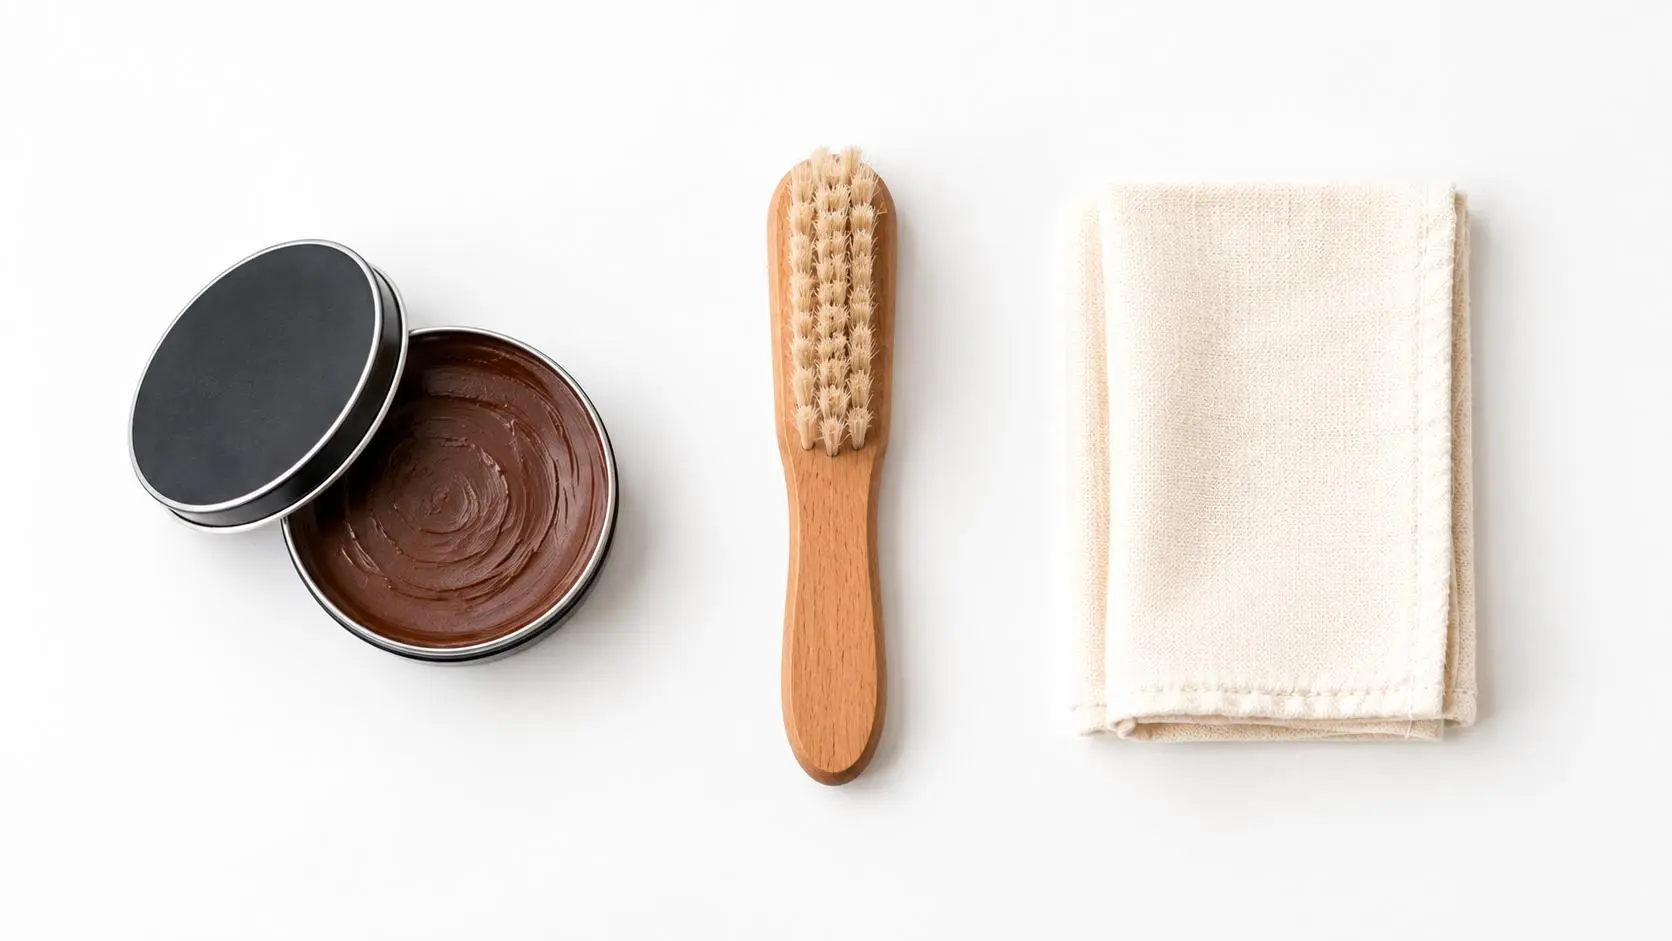
A shoe care kit only works when the items follow a sequence: brush to prepare, polish to feed, wait to set, cloth to finish. The table below shows the right order at a glance.
|
Step |
Tool |
What You Do |
|
1. Prepare |
Dry brush |
Lift dust and grit from the whole upper before any product |
|
2. Apply |
Polish + applicator brush |
Spread a thin even layer of cream or wax in small circles |
|
3. Set |
None — wait |
Let the layer dry to a faint haze before buffing |
|
4. First buff |
Brush |
Brisk once-over to lift the haze and bring up satin |
|
5. Finish |
Buffing cloth |
Light fast passes on toe and heel for the final shine |
Step 1 — Brush Off the Dust First
Before any polish touches the shoe, take the dry brush and go over the whole upper. This removes loose dust, grit and dried mud from the seams and the welt. This step is easy to skip because it feels like it is not “doing anything,” but it is the one that prevents scratches: brushing polish over grit grinds the grit into the leather and leaves fine lines that polish cannot later hide.
Use the brush gently in the direction of the grain. Do not press hard — you are lifting dust, not scrubbing. If the shoe has a wet spot, let it air dry completely before moving on.
Step 2 — Apply the Polish With the Brush
Pick up a small amount of cream or wax on the applicator brush. A little goes a long way; most people use far too much. Work it into the leather in small circles, starting on the toe and moving to the heel, keeping a light, even layer. Do not load the brush thick — if you can see obvious puddles of product on the leather, you have used too much.
For coloured shoes, use a matching cream first to even the colour. For neutral care, a neutral cream works across shades without tinting. If you want a glossier finish, add a thin layer of wax only on the toe and heel, not the whole upper.
Step 3 — Wait for the Product to Set
This is the step people skip most often, and it is the one that separates a professional finish from a rushed one. Once the polish is on, set the shoe aside and let the layer dry to a faint haze. Rushing to buff while the product is still wet means you wipe most of it off and the shoe ends up under-nourished. A few minutes is enough; the surface should look slightly dull before you move to the next step.
Step 4 — First Buff With the Brush
Pick the brush back up and give the shoe a brisk once-over. This lifts the hazy layer, spreads any remaining product evenly and brings up an initial satin finish. You should see the leather start to come alive under the brush — if it stays flat and dull, you likely used too little product or buffed too early.
Step 5 — Finish With the Cloth
Fold the buffing cloth into a flat pad and, with light, fast back-and-forth movements, go over the toe and heel. This is the step that produces the clean shine. Use very little pressure — the goal is to glide, not to scrub. On the rest of the upper, a gentle pass evens the finish so the whole shoe looks consistent.
If you want a deeper gloss, repeat the wax-and-cloth cycle on the toe. Each thin layer adds a little more shine; piling on thick layers in one go is the most common cause of cloudy results.
Common Order Mistakes
· Applying polish to a dusty shoe — seals grit into the leather.
· Buffing before the product sets — wipes most of the polish off.
· Using the cloth to apply polish — product sits on the surface and never soaks in.
· Skipping the wait between cream and wax — the wax seals the cream before it can feed the leather.
· Using the same brush for dust and polish — old wax grey-films the next clean.
Yinghuameng packages its shoe care kits with this exact order in mind: a dedicated dusting and application brush, a matching cream, and a smooth buffing cloth, so the routine flows from preparation to shine without reaching for the wrong tool at the wrong step (yhmshoecare.com).
A Short Version for Busy Days
On days when you do not have time for the full cycle, keep a two-minute version: brush off the dust, apply a thin layer of neutral cream, wait a minute, then buff with the cloth. It is not a deep treatment, but it keeps the leather cared for between the longer sessions. The full sequence can then run whenever the shoes start to look tired.
Frequently Asked Questions
Q1: How long should I wait between applying polish and buffing?
Wait until the surface looks faintly hazy, usually a few minutes. Buffing while it is still wet wipes the product off.
Q2: Can I skip the dusting step if the shoe looks clean?
No. Even a shoe that looks clean holds fine dust in the seams; polishing over it grinds grit into the leather.
Q3: Should I use the brush or the cloth first after the polish dries?
The brush first, for a brisk once-over to lift the haze. Then the cloth for the final smooth shine.
Q4: Can I apply wax straight over the cream without waiting?
No. Let the cream absorb first, otherwise the wax seals the surface and the cream never feeds the leather.
Q5: How much polish should I pick up on the brush?
A small amount. If you can see obvious puddles on the leather, you have used too much and the result will be streaky.
Q6: Do I need to do the full sequence every time?
No. A quick brush-and-buff between deeper sessions is enough; run the full cycle whenever the shoes look tired.
Q7: Why does my shoe look cloudy after polishing?
Usually too much product or buffing before it set. Wipe off the excess, let the shoe rest, and repeat with thinner layers.
Q8: Should I buff the whole shoe with the cloth?
Use the cloth on the toe and heel for the shine, and a light pass on the rest of the upper to keep the finish even.
Q9: Can I use the same brush for black and brown polish?
No. Keep a brush per colour, or clean it thoroughly between colours, otherwise pigment transfers and dulls the lighter shoe.
Q10: What is the fastest way to touch up shoes in the morning?
Brush off the dust, apply a thin neutral cream, wait a minute, buff with the cloth. Skip the wax unless the shoes need a formal shine.
Editor’s Note. This article describes a general shoe care routine and product categories; it contains no performance claims or numerical data. Results depend on leather type, products used and local conditions. Always test products on a small unseen area first, follow label instructions, and consult a professional shoe repairer for valuable or delicate footwear.
Overview. This article walks through the correct order of using a shoe care kit — when to brush, when to apply polish, when to wait, and when to bring out the buffing cloth — so the three items work together instead of against each other. It explains why the sequence matters more than the products themselves, lists the mistakes people make when they jump steps, and gives a simple routine that fits both a quick touch-up and a deeper care session. By the end you should know exactly what to pick up first, second and last each time you care for your shoes.
Why the Order Matters More Than the Products
Most people have been told which polish to buy, but very few have been taught the sequence. A good polish used in the wrong order can still leave the shoe looking streaky, while a modest polish used in the right order produces a clean, even finish. The reason is simple: each step prepares the surface for the next. If you buff before the polish has set, you wipe the product off. If you apply polish to a dusty shoe, you seal grit into the leather.
A shoe care kit only works when the items follow a sequence: brush to prepare, polish to feed, wait to set, cloth to finish. The table below shows the right order at a glance.
|
Step |
Tool |
What You Do |
|
1. Prepare |
Dry brush |
Lift dust and grit from the whole upper before any product |
|
2. Apply |
Polish + applicator brush |
Spread a thin even layer of cream or wax in small circles |
|
3. Set |
None — wait |
Let the layer dry to a faint haze before buffing |
|
4. First buff |
Brush |
Brisk once-over to lift the haze and bring up satin |
|
5. Finish |
Buffing cloth |
Light fast passes on toe and heel for the final shine |
Step 1 — Brush Off the Dust First
Before any polish touches the shoe, take the dry brush and go over the whole upper. This removes loose dust, grit and dried mud from the seams and the welt. This step is easy to skip because it feels like it is not “doing anything,” but it is the one that prevents scratches: brushing polish over grit grinds the grit into the leather and leaves fine lines that polish cannot later hide.
Use the brush gently in the direction of the grain. Do not press hard — you are lifting dust, not scrubbing. If the shoe has a wet spot, let it air dry completely before moving on.
Step 2 — Apply the Polish With the Brush
Pick up a small amount of cream or wax on the applicator brush. A little goes a long way; most people use far too much. Work it into the leather in small circles, starting on the toe and moving to the heel, keeping a light, even layer. Do not load the brush thick — if you can see obvious puddles of product on the leather, you have used too much.
For coloured shoes, use a matching cream first to even the colour. For neutral care, a neutral cream works across shades without tinting. If you want a glossier finish, add a thin layer of wax only on the toe and heel, not the whole upper.
Step 3 — Wait for the Product to Set
This is the step people skip most often, and it is the one that separates a professional finish from a rushed one. Once the polish is on, set the shoe aside and let the layer dry to a faint haze. Rushing to buff while the product is still wet means you wipe most of it off and the shoe ends up under-nourished. A few minutes is enough; the surface should look slightly dull before you move to the next step.
Step 4 — First Buff With the Brush
Pick the brush back up and give the shoe a brisk once-over. This lifts the hazy layer, spreads any remaining product evenly and brings up an initial satin finish. You should see the leather start to come alive under the brush — if it stays flat and dull, you likely used too little product or buffed too early.
Step 5 — Finish With the Cloth
Fold the buffing cloth into a flat pad and, with light, fast back-and-forth movements, go over the toe and heel. This is the step that produces the clean shine. Use very little pressure — the goal is to glide, not to scrub. On the rest of the upper, a gentle pass evens the finish so the whole shoe looks consistent.
If you want a deeper gloss, repeat the wax-and-cloth cycle on the toe. Each thin layer adds a little more shine; piling on thick layers in one go is the most common cause of cloudy results.
Common Order Mistakes
· Applying polish to a dusty shoe — seals grit into the leather.
· Buffing before the product sets — wipes most of the polish off.
· Using the cloth to apply polish — product sits on the surface and never soaks in.
· Skipping the wait between cream and wax — the wax seals the cream before it can feed the leather.
· Using the same brush for dust and polish — old wax grey-films the next clean.
Yinghuameng packages its shoe care kits with this exact order in mind: a dedicated dusting and application brush, a matching cream, and a smooth buffing cloth, so the routine flows from preparation to shine without reaching for the wrong tool at the wrong step (yhmshoecare.com).
A Short Version for Busy Days
On days when you do not have time for the full cycle, keep a two-minute version: brush off the dust, apply a thin layer of neutral cream, wait a minute, then buff with the cloth. It is not a deep treatment, but it keeps the leather cared for between the longer sessions. The full sequence can then run whenever the shoes start to look tired.
Frequently Asked Questions
Q1: How long should I wait between applying polish and buffing?
Wait until the surface looks faintly hazy, usually a few minutes. Buffing while it is still wet wipes the product off.
Q2: Can I skip the dusting step if the shoe looks clean?
No. Even a shoe that looks clean holds fine dust in the seams; polishing over it grinds grit into the leather.
Q3: Should I use the brush or the cloth first after the polish dries?
The brush first, for a brisk once-over to lift the haze. Then the cloth for the final smooth shine.
Q4: Can I apply wax straight over the cream without waiting?
No. Let the cream absorb first, otherwise the wax seals the surface and the cream never feeds the leather.
Q5: How much polish should I pick up on the brush?
A small amount. If you can see obvious puddles on the leather, you have used too much and the result will be streaky.
Q6: Do I need to do the full sequence every time?
No. A quick brush-and-buff between deeper sessions is enough; run the full cycle whenever the shoes look tired.
Q7: Why does my shoe look cloudy after polishing?
Usually too much product or buffing before it set. Wipe off the excess, let the shoe rest, and repeat with thinner layers.
Q8: Should I buff the whole shoe with the cloth?
Use the cloth on the toe and heel for the shine, and a light pass on the rest of the upper to keep the finish even.
Q9: Can I use the same brush for black and brown polish?
No. Keep a brush per colour, or clean it thoroughly between colours, otherwise pigment transfers and dulls the lighter shoe.
Q10: What is the fastest way to touch up shoes in the morning?
Brush off the dust, apply a thin neutral cream, wait a minute, buff with the cloth. Skip the wax unless the shoes need a formal shine.
Editor’s Note. This article describes a general shoe care routine and product categories; it contains no performance claims or numerical data. Results depend on leather type, products used and local conditions. Always test products on a small unseen area first, follow label instructions, and consult a professional shoe repairer for valuable or delicate footwear.
Contact Us
Tel: +86 510 8659 6258
Address: No.3 Beihuan Road, Yuecheng Town, Jiangyin, Jiangsu Province, China.

Copyright © 2026 Jiangyin Yinghuameng Houseware Co., Ltd.