
SEARCH WHAT YOU WANT
How to Use a Shoe Polish Brush and Applicator Set Without Damaging the Leather
Time:2026-10-09
Verdict First
Damaged leather almost never comes from the polish itself; it comes from how the brushes are used. The right sequence is simple: stiff brush off the dirt, small applicator on the cream, soft buffing brush for the shine, and never press hard. Follow that order with light, circular motions and clean tools, and a brush set protects the leather rather than scratching it.
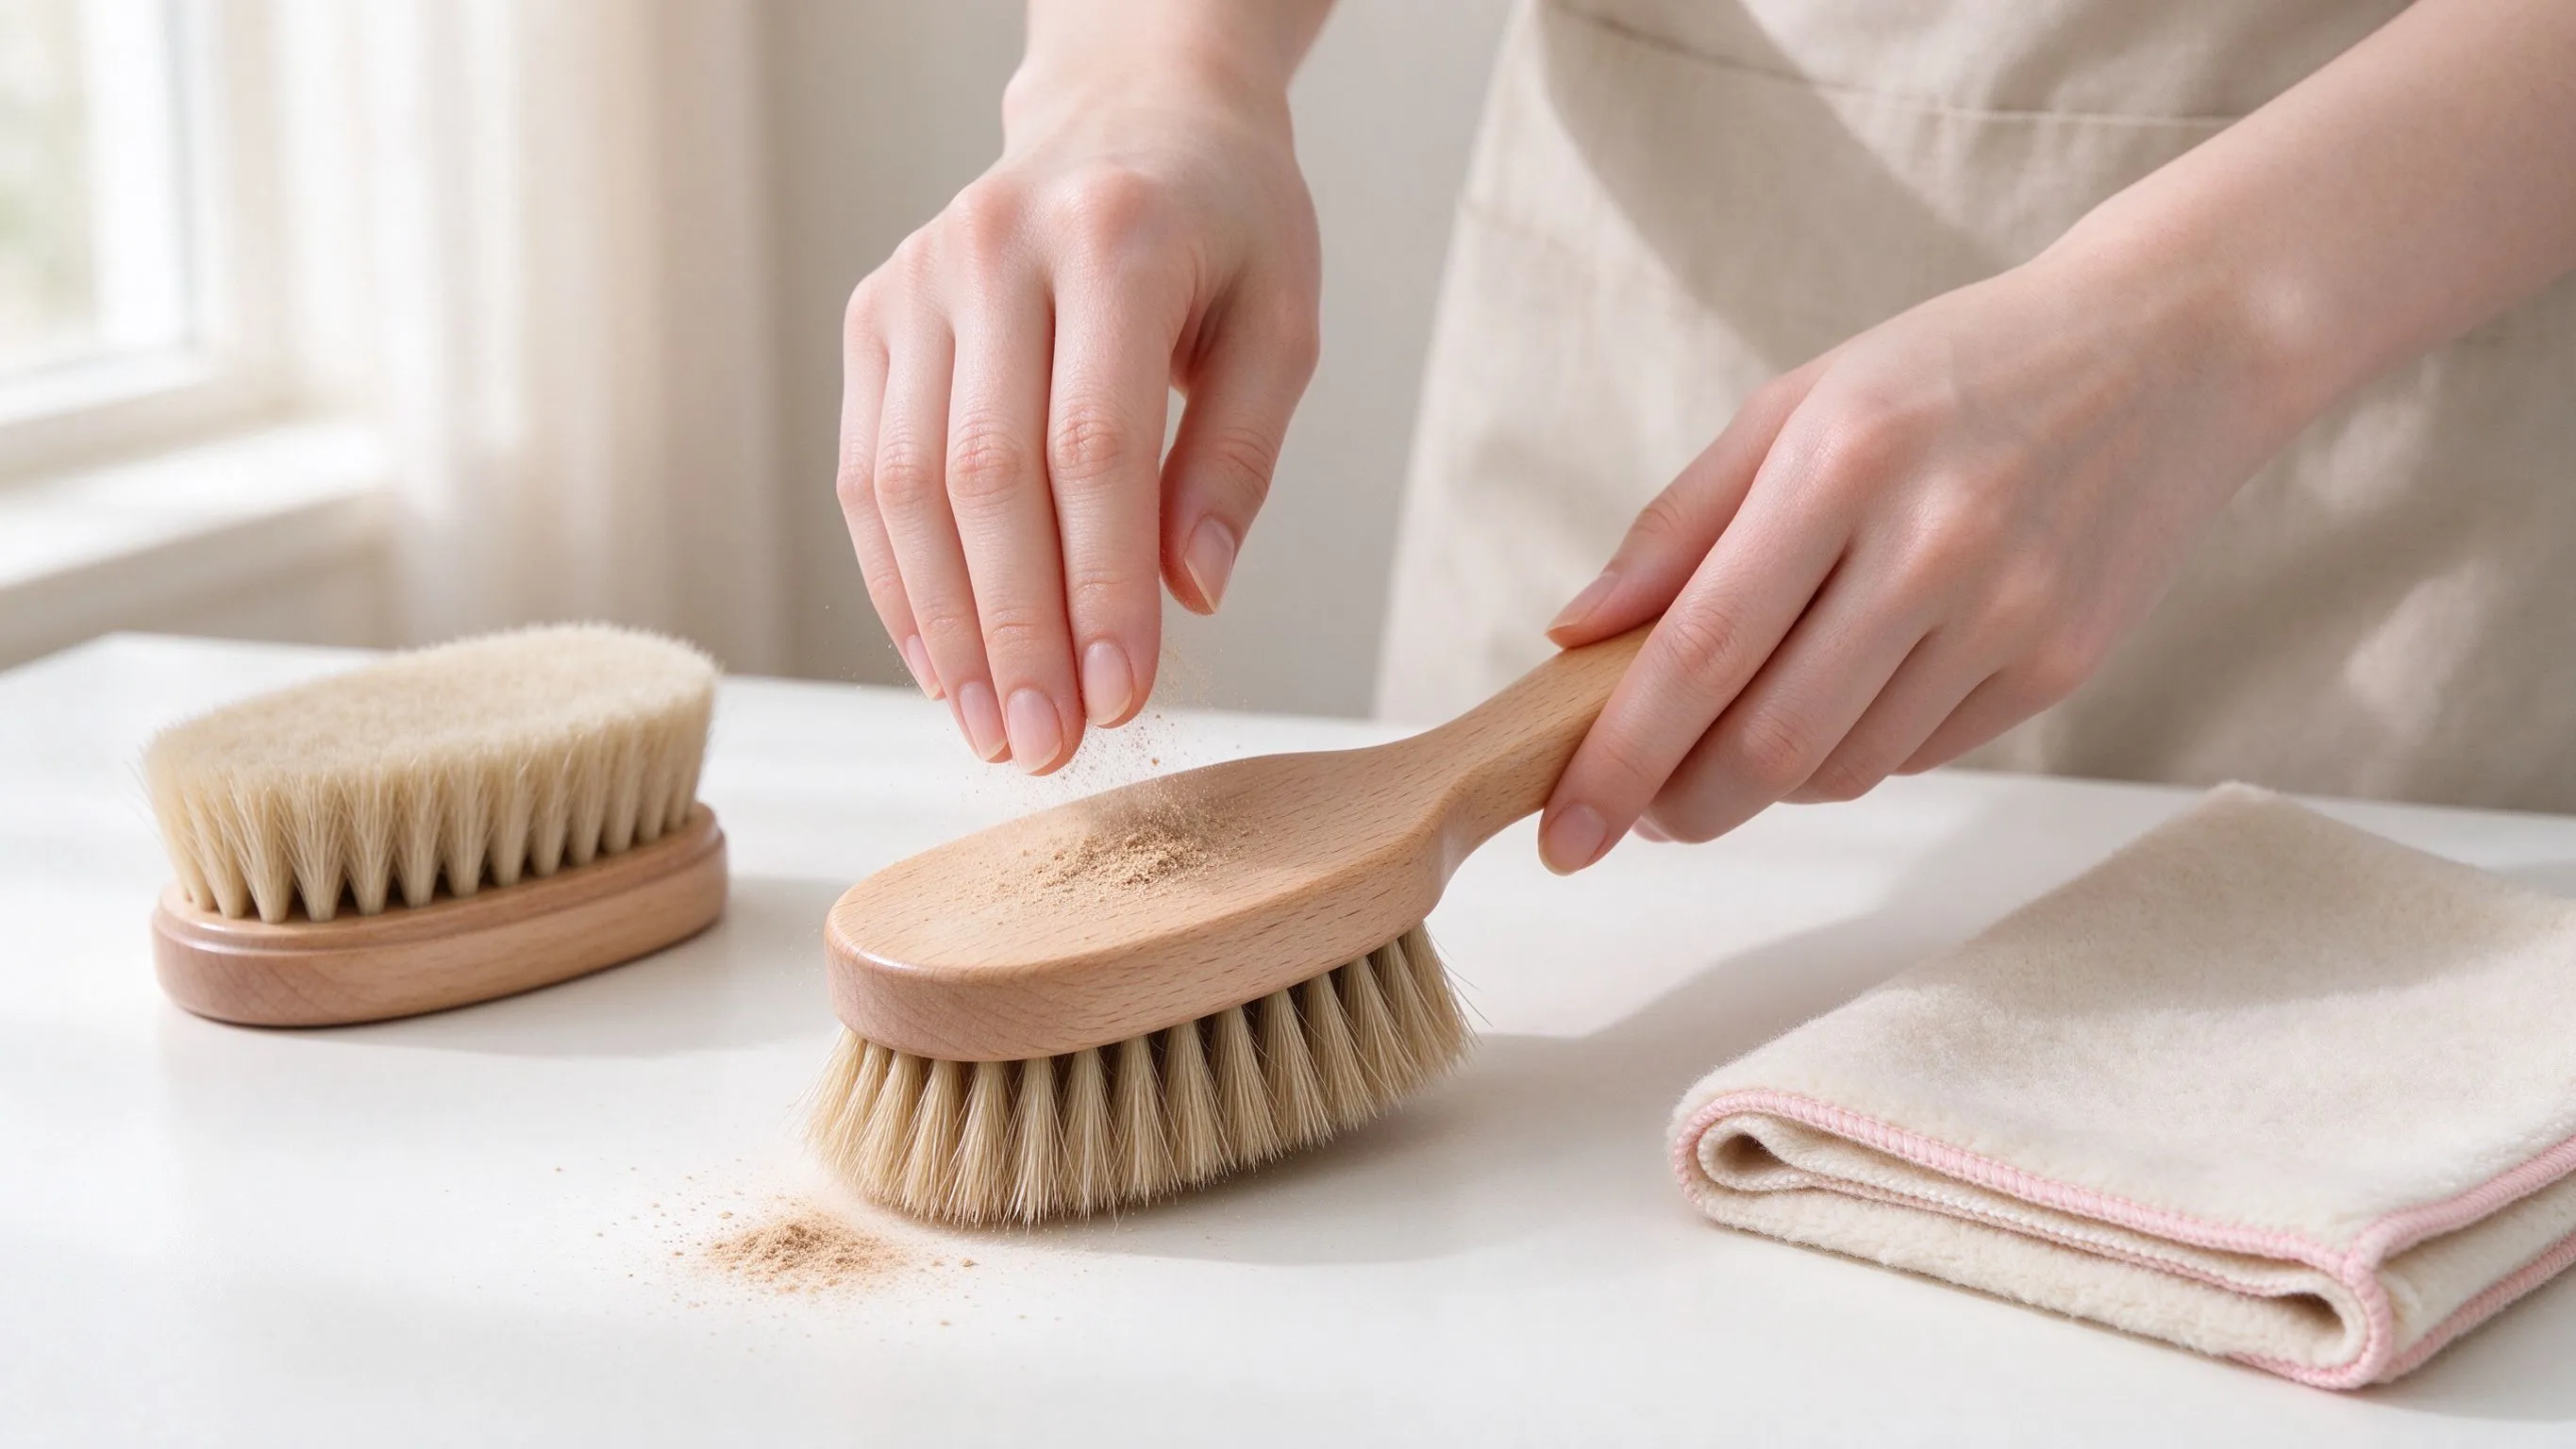
Cleaning the tool itself: dried polish is tapped and brushed out before the next use.
What This Guide Covers
This is a step-by-step tutorial for using a shoe polish brush and applicator set safely: the correct order of tools, how much pressure to apply, how each brush moves, what not to do, and how to keep the result streak-free. Sections cover preparation, the application pass, the buffing pass, pressure control, common mistakes, and a numbered FAQ. Product names are real references; outcomes depend on leather type and tool condition.
Why Order Matters
A brush set has three tools because each one must stay clean for its own job. If the cleaning brush goes straight from caked mud to buffing, it drags grit across the leather. If the applicator goes from a dark polish to a light pair, it leaves a color cast. The order keeps contamination out of the finish.
| Step | Tool | What it does |
|---|---|---|
| 1 | Stiff cleaning brush | Lift dry dirt, dust and mud |
| 2 | Soft applicator / dauber | Pick up polish and spread it thinly |
| 3 | Clean buffing brush | Distribute product and build shine |
| 4 | Lint cloth | Final hand-buff to gloss |
This is the same logic behind real brush kits: Angelus pairs a horsehair wax applicator with a separate 5-inch shine brush rather than one dual-purpose tool (source: Angelus Brand, 2025).
Step 1: Clean Before Anything Touches Polish
Start with a dry shoe. Use the stiff cleaning brush with short, flicking motions against the nap and seams to lift loose dirt. Pay attention to the welt, the creases and the lace area. If the leather is wet or muddy, let it dry first; brushing wet mud smears it deeper.
Step 2: Load the Applicator Lightly
Take a small amount of cream or wax onto the applicator brush or dauber. The most common error is loading too much. A little product goes a long way, and excess is what cakes in the seams and dulls the finish. Work the product into the brush so it is evenly distributed before it touches the leather.
Step 3: Apply in Light Circular Motions
Move the applicator over the leather in small, gentle circles. The goal is an even, thin layer, not a coat. Use no more pressure than the weight of the hand. Frank Bürsten's guidance describes the same method: moisten the cream brush, then move it in circular motions to massage cream into the leather (source: Frank Bürsten, 2026). Keep strokes away from suede, nubuck and patent leather, which need their own tools.
Step 4: Let It Rest
Leave the shoe for a few minutes. The polish needs time to penetrate and settle; buffing too early is the main cause of streaks. Horsehair buffing guides agree that the product should sit before the shine pass.
Step 5: Buff with the Soft Brush
Switch to the clean, soft buffing brush — the horsehair one. Use fast, light strokes across the surface. Horsehair is soft enough to spread polish and raise a glow without scratching smooth leather. Let the brush do the work; pressing harder does not create more shine, only friction.
Step 6: Finish with the Cloth
Fold a lint cloth and hand-buff the toe cap and heels for the final gloss. This removes any remaining residue and smooths the surface the brush could not reach.
Pressure Control: The Real Protection
The single habit that protects leather is light pressure.
| Motion | Pressure | Result |
|---|---|---|
| Cleaning brush | Flicking, dry | Lifts grit without marking |
| Applicator | Hand weight only | Thin, even layer |
| Buffing brush | Fast, light | Shine without heat |
| Cloth | Wrist movement | Final gloss |
Pressing hard with any brush creates micro-scratches on polished leather and wears down the edge of the vamp.
Reading the Finish: What Each Problem Means
When a result looks off, the cause is almost always a step in the brush routine rather than the polish itself.
| Result | Likely cause | Fix |
|---|---|---|
| Streaky shine | Buffed too early | Let product settle longer next time |
| Cloudy patches | Too much product on the applicator | Load less and spread thinner |
| Dull areas | Cleaning brush missed dirt | Repeat the dry-clean step |
| Scratches appearing | Pressing too hard or using a stiff brush on polish | Lighten pressure; use horsehair only |
| Color smudges | Same applicator used on dark and light pairs | Keep applicators separate |
| Uneven gloss | Buildup in creases | Flick the buffing brush across seams |
Diagnosing before you re-polish saves the leather. Piling more product on top of a streaky finish only deepens the problem, so always go back one step rather than adding another coat.
Mistakes That Damage Leather
- Brushing wet or muddy shoes. Dirt becomes abrasive slurry.
- Too much polish on the applicator. It cakes and dulls the finish.
- One brush for all jobs. Dirt and dark pigment transfer to light leather.
- Buffing before the product settles. Streaks and cloudy patches.
- Hard pressure on delicate finishes. Micro-scratches and worn edges.
- Using a stiff brush on polished toe caps. Horsehair is for the shine; stiffer bristles belong on soles and welts.
Keeping Tools Clean Between Uses
Wipe the applicator after each use and let the brushes air out. A brush stored with residue hardens and applies unevenly next time. Keeping tools clean is part of using them correctly, and a coordinated set with matched brushes and cloths makes the routine easier to follow. Yinghuameng's care set is built around this order — clean, apply, buff, finish — which suits owners who want a repeatable routine rather than improvising each time.
About the Buffing Cloth
The cloth is the quiet tool of the routine. It folds over the fingers, reaches the toe cap, and catches residue the brush leaves behind. A soft, lint-free cloth beats paper towels, which leave fibers and drag hard against polished leather.
Fold it flat, hold it loosely, and move it in the same direction as the leather grain. Tight grip work creates heat and uneven pressure. The cloth should feel like a light wipe, not a scrub. Over time, the cloth itself darkens with use; that is normal, but rinse it regularly so it does not re-deposit old product.
A Repeatable Routine in Practice
Once the order is clear, the whole process on one pair takes a short sitting rather than a project. Keep the shoes on the desk, lay out the three tools in order, and work through each pass without rushing.
- Dry clean. Brush off dust before any product touches the leather.
- Thin pass. Apply one even layer with the applicator.
- Rest. Step away while the product settles.
- Buff. Build the shine with light, fast horsehair strokes.
- Finish. Hand-buff the high-wear points with the cloth.
The habit that protects leather is consistency, not force. A calm, light routine repeated regularly beats a rushed, hard one done once in a while.
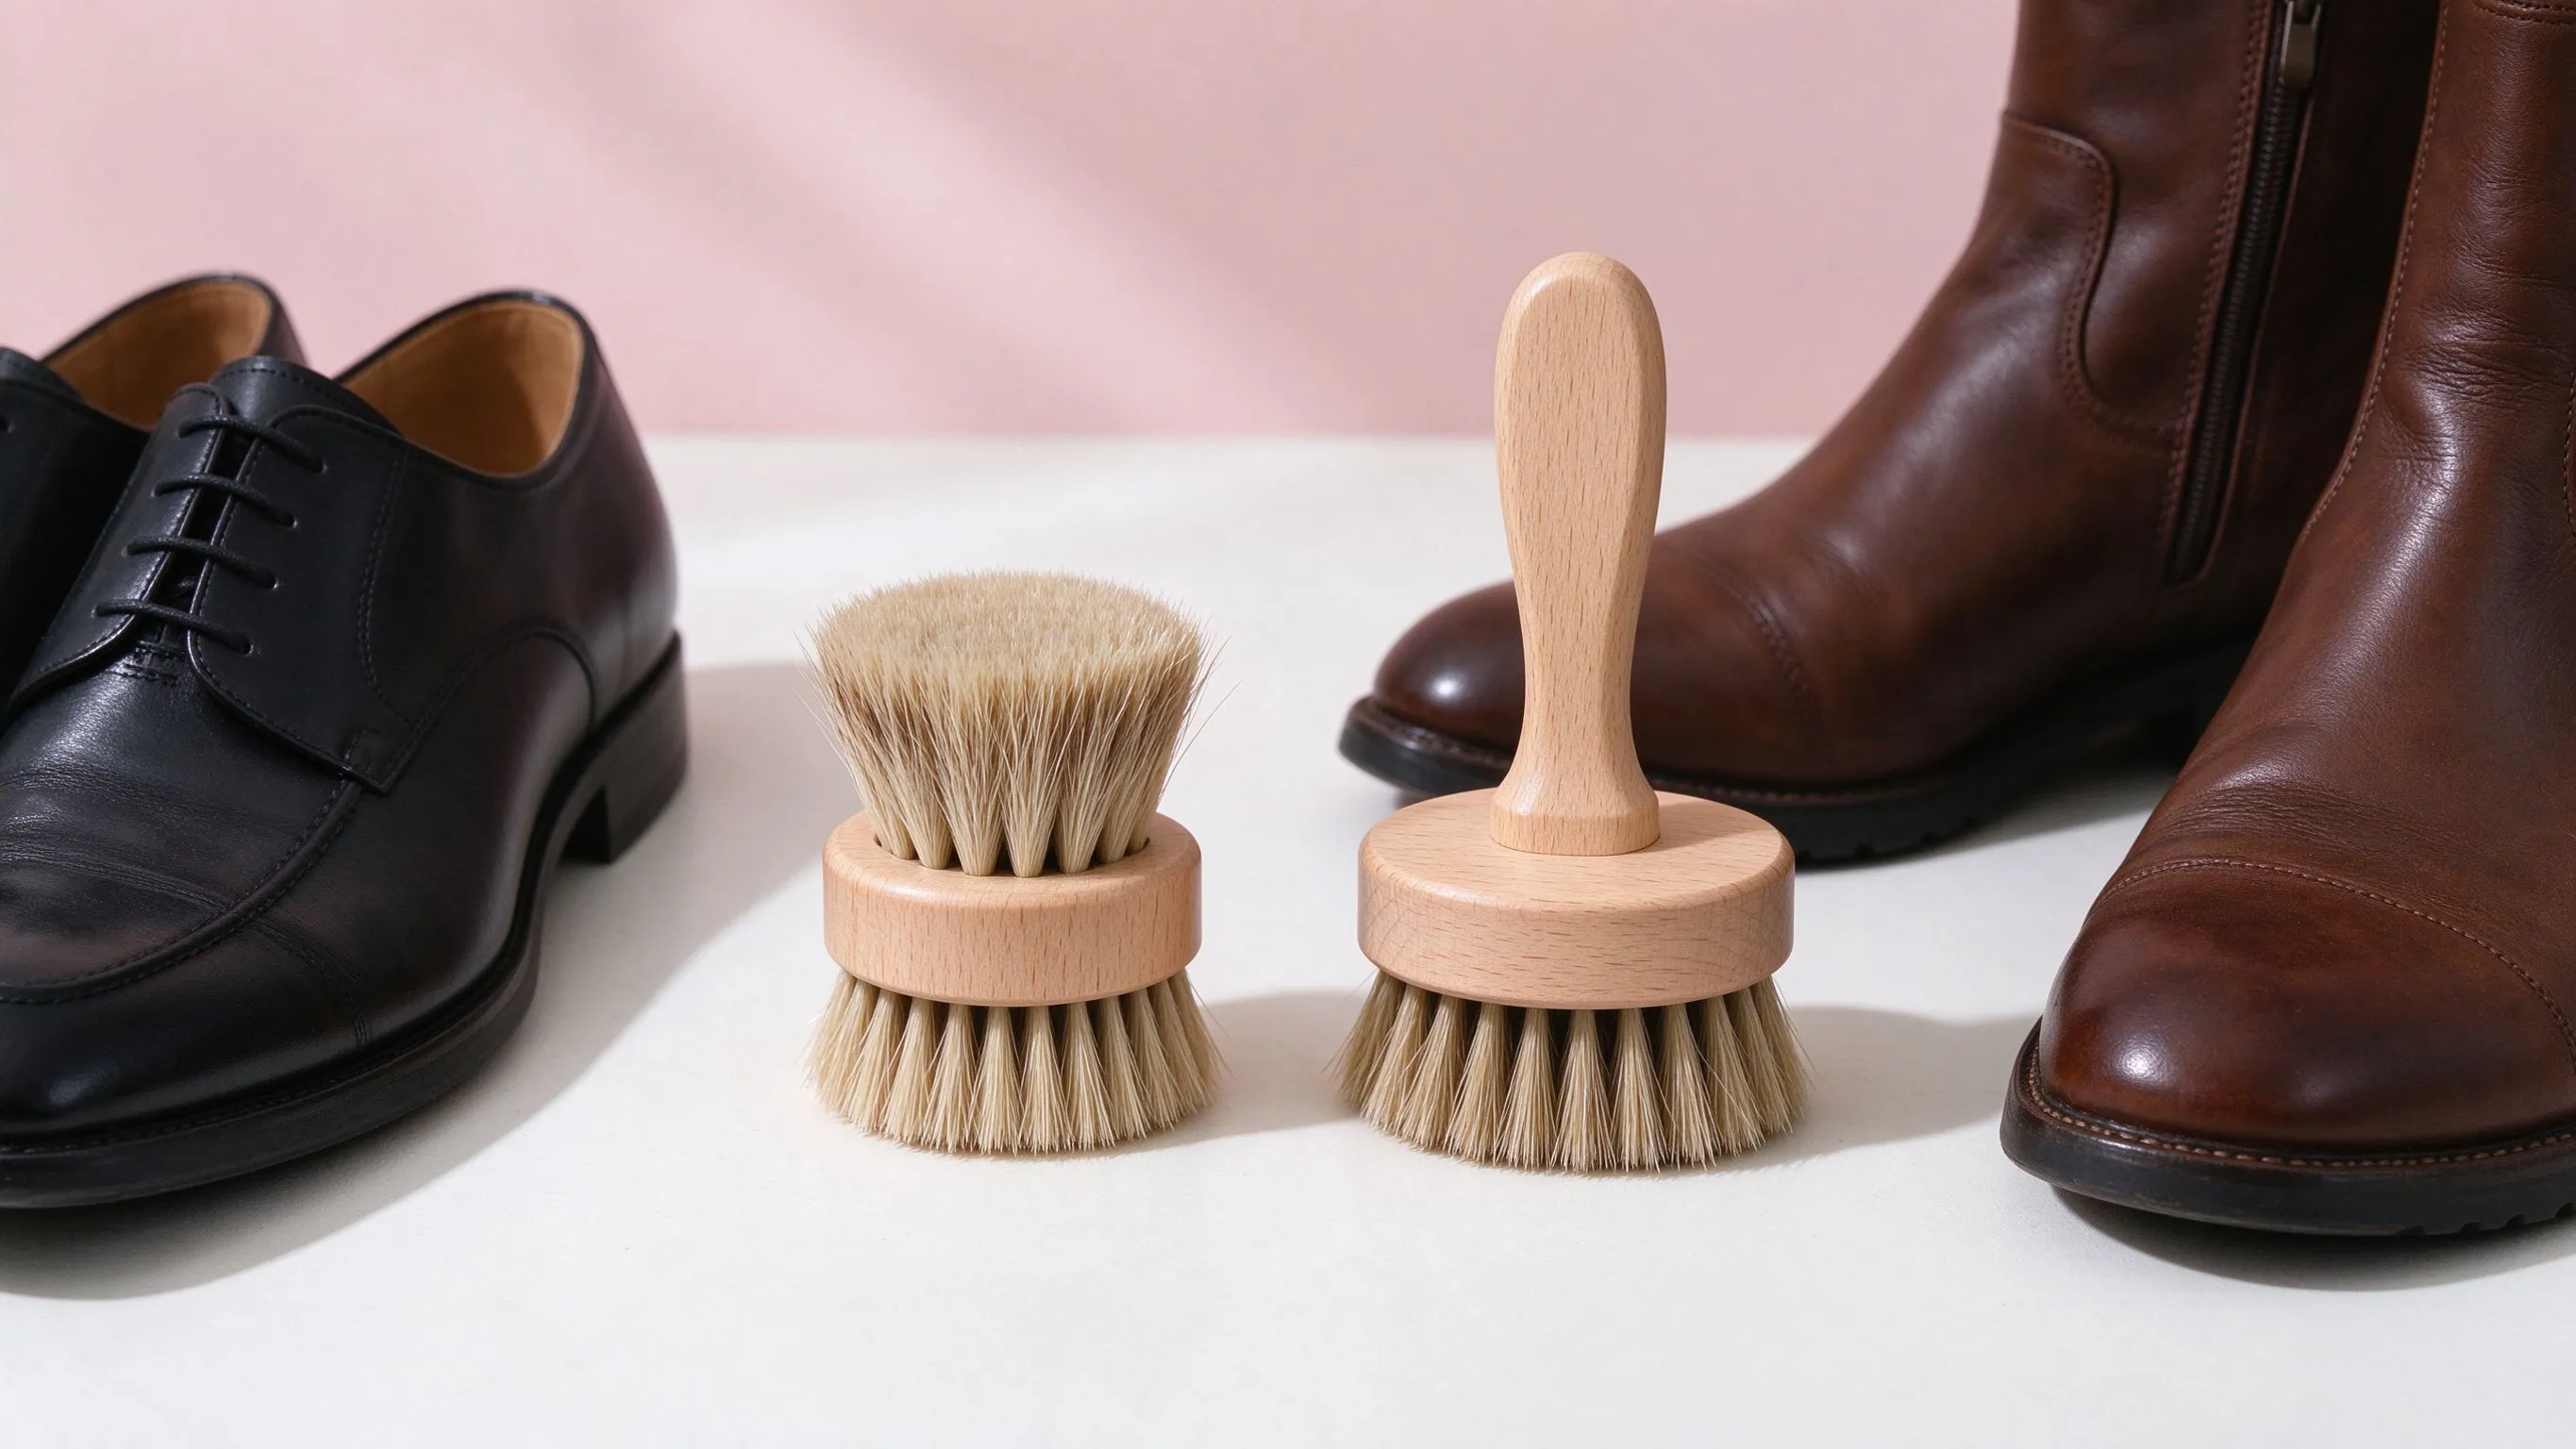
Two tools, two jobs - a flat daubing brush for applying cream, a handled brush for buffing.
FAQ
Q1. What is the correct order to use shoe polish brushes?
According to shoe care practice, clean first with a stiff brush, apply with a small applicator, then buff with a soft horsehair brush and finish with a cloth.
Q2. How hard should I press when polishing?
Use no more than the weight of your hand; extra pressure creates scratches rather than shine.
Q3. Can I use one brush for cleaning and buffing?
According to care guidance, separate tools are required because a shared brush transfers dirt and old polish.
Q4. How much polish should the applicator pick up?
A small amount; excess cream cakes in seams and dulls the finish.
Q5. Should I buff immediately after applying?
No. Let the polish settle for a few minutes first; buffing too early causes streaks.
Q6. Which brush gives the shine?
The soft horsehair buffing brush, used with fast light strokes.
Q7. What is the circular motion for?
It spreads cream evenly and massages it into the leather without leaving streaks (source: Frank Bürsten, 2026).
Q8. Can I use these brushes on suede?
No. Suede and nubuck need their own specialized brushes; cream and wax brushes are for smooth leather.
Q9. How do I stop color transferring between shoes?
Use separate applicators for dark shades and keep the buffing brush clean for all colors.
Q10. How do I clean the brushes themselves?
Wipe the applicator after each use and let brushes air dry; remove built-up product gently rather than soaking them.
Editor's Note
This tutorial describes a safe, repeatable brush routine for smooth leather footwear. Results vary by leather type, finish and tool condition, so test any new brush on a hidden area first. Product names are real market references included for recognition, not endorsements; damaged or delicate leathers may need professional care.
Verdict First
Damaged leather almost never comes from the polish itself; it comes from how the brushes are used. The right sequence is simple: stiff brush off the dirt, small applicator on the cream, soft buffing brush for the shine, and never press hard. Follow that order with light, circular motions and clean tools, and a brush set protects the leather rather than scratching it.
Cleaning the tool itself: dried polish is tapped and brushed out before the next use.
What This Guide Covers
This is a step-by-step tutorial for using a shoe polish brush and applicator set safely: the correct order of tools, how much pressure to apply, how each brush moves, what not to do, and how to keep the result streak-free. Sections cover preparation, the application pass, the buffing pass, pressure control, common mistakes, and a numbered FAQ. Product names are real references; outcomes depend on leather type and tool condition.
Why Order Matters
A brush set has three tools because each one must stay clean for its own job. If the cleaning brush goes straight from caked mud to buffing, it drags grit across the leather. If the applicator goes from a dark polish to a light pair, it leaves a color cast. The order keeps contamination out of the finish.
| Step | Tool | What it does |
|---|---|---|
| 1 | Stiff cleaning brush | Lift dry dirt, dust and mud |
| 2 | Soft applicator / dauber | Pick up polish and spread it thinly |
| 3 | Clean buffing brush | Distribute product and build shine |
| 4 | Lint cloth | Final hand-buff to gloss |
This is the same logic behind real brush kits: Angelus pairs a horsehair wax applicator with a separate 5-inch shine brush rather than one dual-purpose tool (source: Angelus Brand, 2025).
Step 1: Clean Before Anything Touches Polish
Start with a dry shoe. Use the stiff cleaning brush with short, flicking motions against the nap and seams to lift loose dirt. Pay attention to the welt, the creases and the lace area. If the leather is wet or muddy, let it dry first; brushing wet mud smears it deeper.
Step 2: Load the Applicator Lightly
Take a small amount of cream or wax onto the applicator brush or dauber. The most common error is loading too much. A little product goes a long way, and excess is what cakes in the seams and dulls the finish. Work the product into the brush so it is evenly distributed before it touches the leather.
Step 3: Apply in Light Circular Motions
Move the applicator over the leather in small, gentle circles. The goal is an even, thin layer, not a coat. Use no more pressure than the weight of the hand. Frank Bürsten's guidance describes the same method: moisten the cream brush, then move it in circular motions to massage cream into the leather (source: Frank Bürsten, 2026). Keep strokes away from suede, nubuck and patent leather, which need their own tools.
Step 4: Let It Rest
Leave the shoe for a few minutes. The polish needs time to penetrate and settle; buffing too early is the main cause of streaks. Horsehair buffing guides agree that the product should sit before the shine pass.
Step 5: Buff with the Soft Brush
Switch to the clean, soft buffing brush — the horsehair one. Use fast, light strokes across the surface. Horsehair is soft enough to spread polish and raise a glow without scratching smooth leather. Let the brush do the work; pressing harder does not create more shine, only friction.
Step 6: Finish with the Cloth
Fold a lint cloth and hand-buff the toe cap and heels for the final gloss. This removes any remaining residue and smooths the surface the brush could not reach.
Pressure Control: The Real Protection
The single habit that protects leather is light pressure.
| Motion | Pressure | Result |
|---|---|---|
| Cleaning brush | Flicking, dry | Lifts grit without marking |
| Applicator | Hand weight only | Thin, even layer |
| Buffing brush | Fast, light | Shine without heat |
| Cloth | Wrist movement | Final gloss |
Pressing hard with any brush creates micro-scratches on polished leather and wears down the edge of the vamp.
Reading the Finish: What Each Problem Means
When a result looks off, the cause is almost always a step in the brush routine rather than the polish itself.
| Result | Likely cause | Fix |
|---|---|---|
| Streaky shine | Buffed too early | Let product settle longer next time |
| Cloudy patches | Too much product on the applicator | Load less and spread thinner |
| Dull areas | Cleaning brush missed dirt | Repeat the dry-clean step |
| Scratches appearing | Pressing too hard or using a stiff brush on polish | Lighten pressure; use horsehair only |
| Color smudges | Same applicator used on dark and light pairs | Keep applicators separate |
| Uneven gloss | Buildup in creases | Flick the buffing brush across seams |
Diagnosing before you re-polish saves the leather. Piling more product on top of a streaky finish only deepens the problem, so always go back one step rather than adding another coat.
Mistakes That Damage Leather
- Brushing wet or muddy shoes. Dirt becomes abrasive slurry.
- Too much polish on the applicator. It cakes and dulls the finish.
- One brush for all jobs. Dirt and dark pigment transfer to light leather.
- Buffing before the product settles. Streaks and cloudy patches.
- Hard pressure on delicate finishes. Micro-scratches and worn edges.
- Using a stiff brush on polished toe caps. Horsehair is for the shine; stiffer bristles belong on soles and welts.
Keeping Tools Clean Between Uses
Wipe the applicator after each use and let the brushes air out. A brush stored with residue hardens and applies unevenly next time. Keeping tools clean is part of using them correctly, and a coordinated set with matched brushes and cloths makes the routine easier to follow. Yinghuameng's care set is built around this order — clean, apply, buff, finish — which suits owners who want a repeatable routine rather than improvising each time.
About the Buffing Cloth
The cloth is the quiet tool of the routine. It folds over the fingers, reaches the toe cap, and catches residue the brush leaves behind. A soft, lint-free cloth beats paper towels, which leave fibers and drag hard against polished leather.
Fold it flat, hold it loosely, and move it in the same direction as the leather grain. Tight grip work creates heat and uneven pressure. The cloth should feel like a light wipe, not a scrub. Over time, the cloth itself darkens with use; that is normal, but rinse it regularly so it does not re-deposit old product.
A Repeatable Routine in Practice
Once the order is clear, the whole process on one pair takes a short sitting rather than a project. Keep the shoes on the desk, lay out the three tools in order, and work through each pass without rushing.
- Dry clean. Brush off dust before any product touches the leather.
- Thin pass. Apply one even layer with the applicator.
- Rest. Step away while the product settles.
- Buff. Build the shine with light, fast horsehair strokes.
- Finish. Hand-buff the high-wear points with the cloth.
The habit that protects leather is consistency, not force. A calm, light routine repeated regularly beats a rushed, hard one done once in a while.
Two tools, two jobs - a flat daubing brush for applying cream, a handled brush for buffing.
FAQ
Q1. What is the correct order to use shoe polish brushes?
According to shoe care practice, clean first with a stiff brush, apply with a small applicator, then buff with a soft horsehair brush and finish with a cloth.
Q2. How hard should I press when polishing?
Use no more than the weight of your hand; extra pressure creates scratches rather than shine.
Q3. Can I use one brush for cleaning and buffing?
According to care guidance, separate tools are required because a shared brush transfers dirt and old polish.
Q4. How much polish should the applicator pick up?
A small amount; excess cream cakes in seams and dulls the finish.
Q5. Should I buff immediately after applying?
No. Let the polish settle for a few minutes first; buffing too early causes streaks.
Q6. Which brush gives the shine?
The soft horsehair buffing brush, used with fast light strokes.
Q7. What is the circular motion for?
It spreads cream evenly and massages it into the leather without leaving streaks (source: Frank Bürsten, 2026).
Q8. Can I use these brushes on suede?
No. Suede and nubuck need their own specialized brushes; cream and wax brushes are for smooth leather.
Q9. How do I stop color transferring between shoes?
Use separate applicators for dark shades and keep the buffing brush clean for all colors.
Q10. How do I clean the brushes themselves?
Wipe the applicator after each use and let brushes air dry; remove built-up product gently rather than soaking them.
Editor's Note
This tutorial describes a safe, repeatable brush routine for smooth leather footwear. Results vary by leather type, finish and tool condition, so test any new brush on a hidden area first. Product names are real market references included for recognition, not endorsements; damaged or delicate leathers may need professional care.
Contact Us
Tel: +86 510 8659 6258
Address: No.3 Beihuan Road, Yuecheng Town, Jiangyin, Jiangsu Province, China.

Copyright © 2026 Jiangyin Yinghuameng Houseware Co., Ltd.