
SEARCH WHAT YOU WANT
How to Start a Sneaker Care Routine with a Starter Pack: A Step-by-Step Plan
Time:2026-11-03
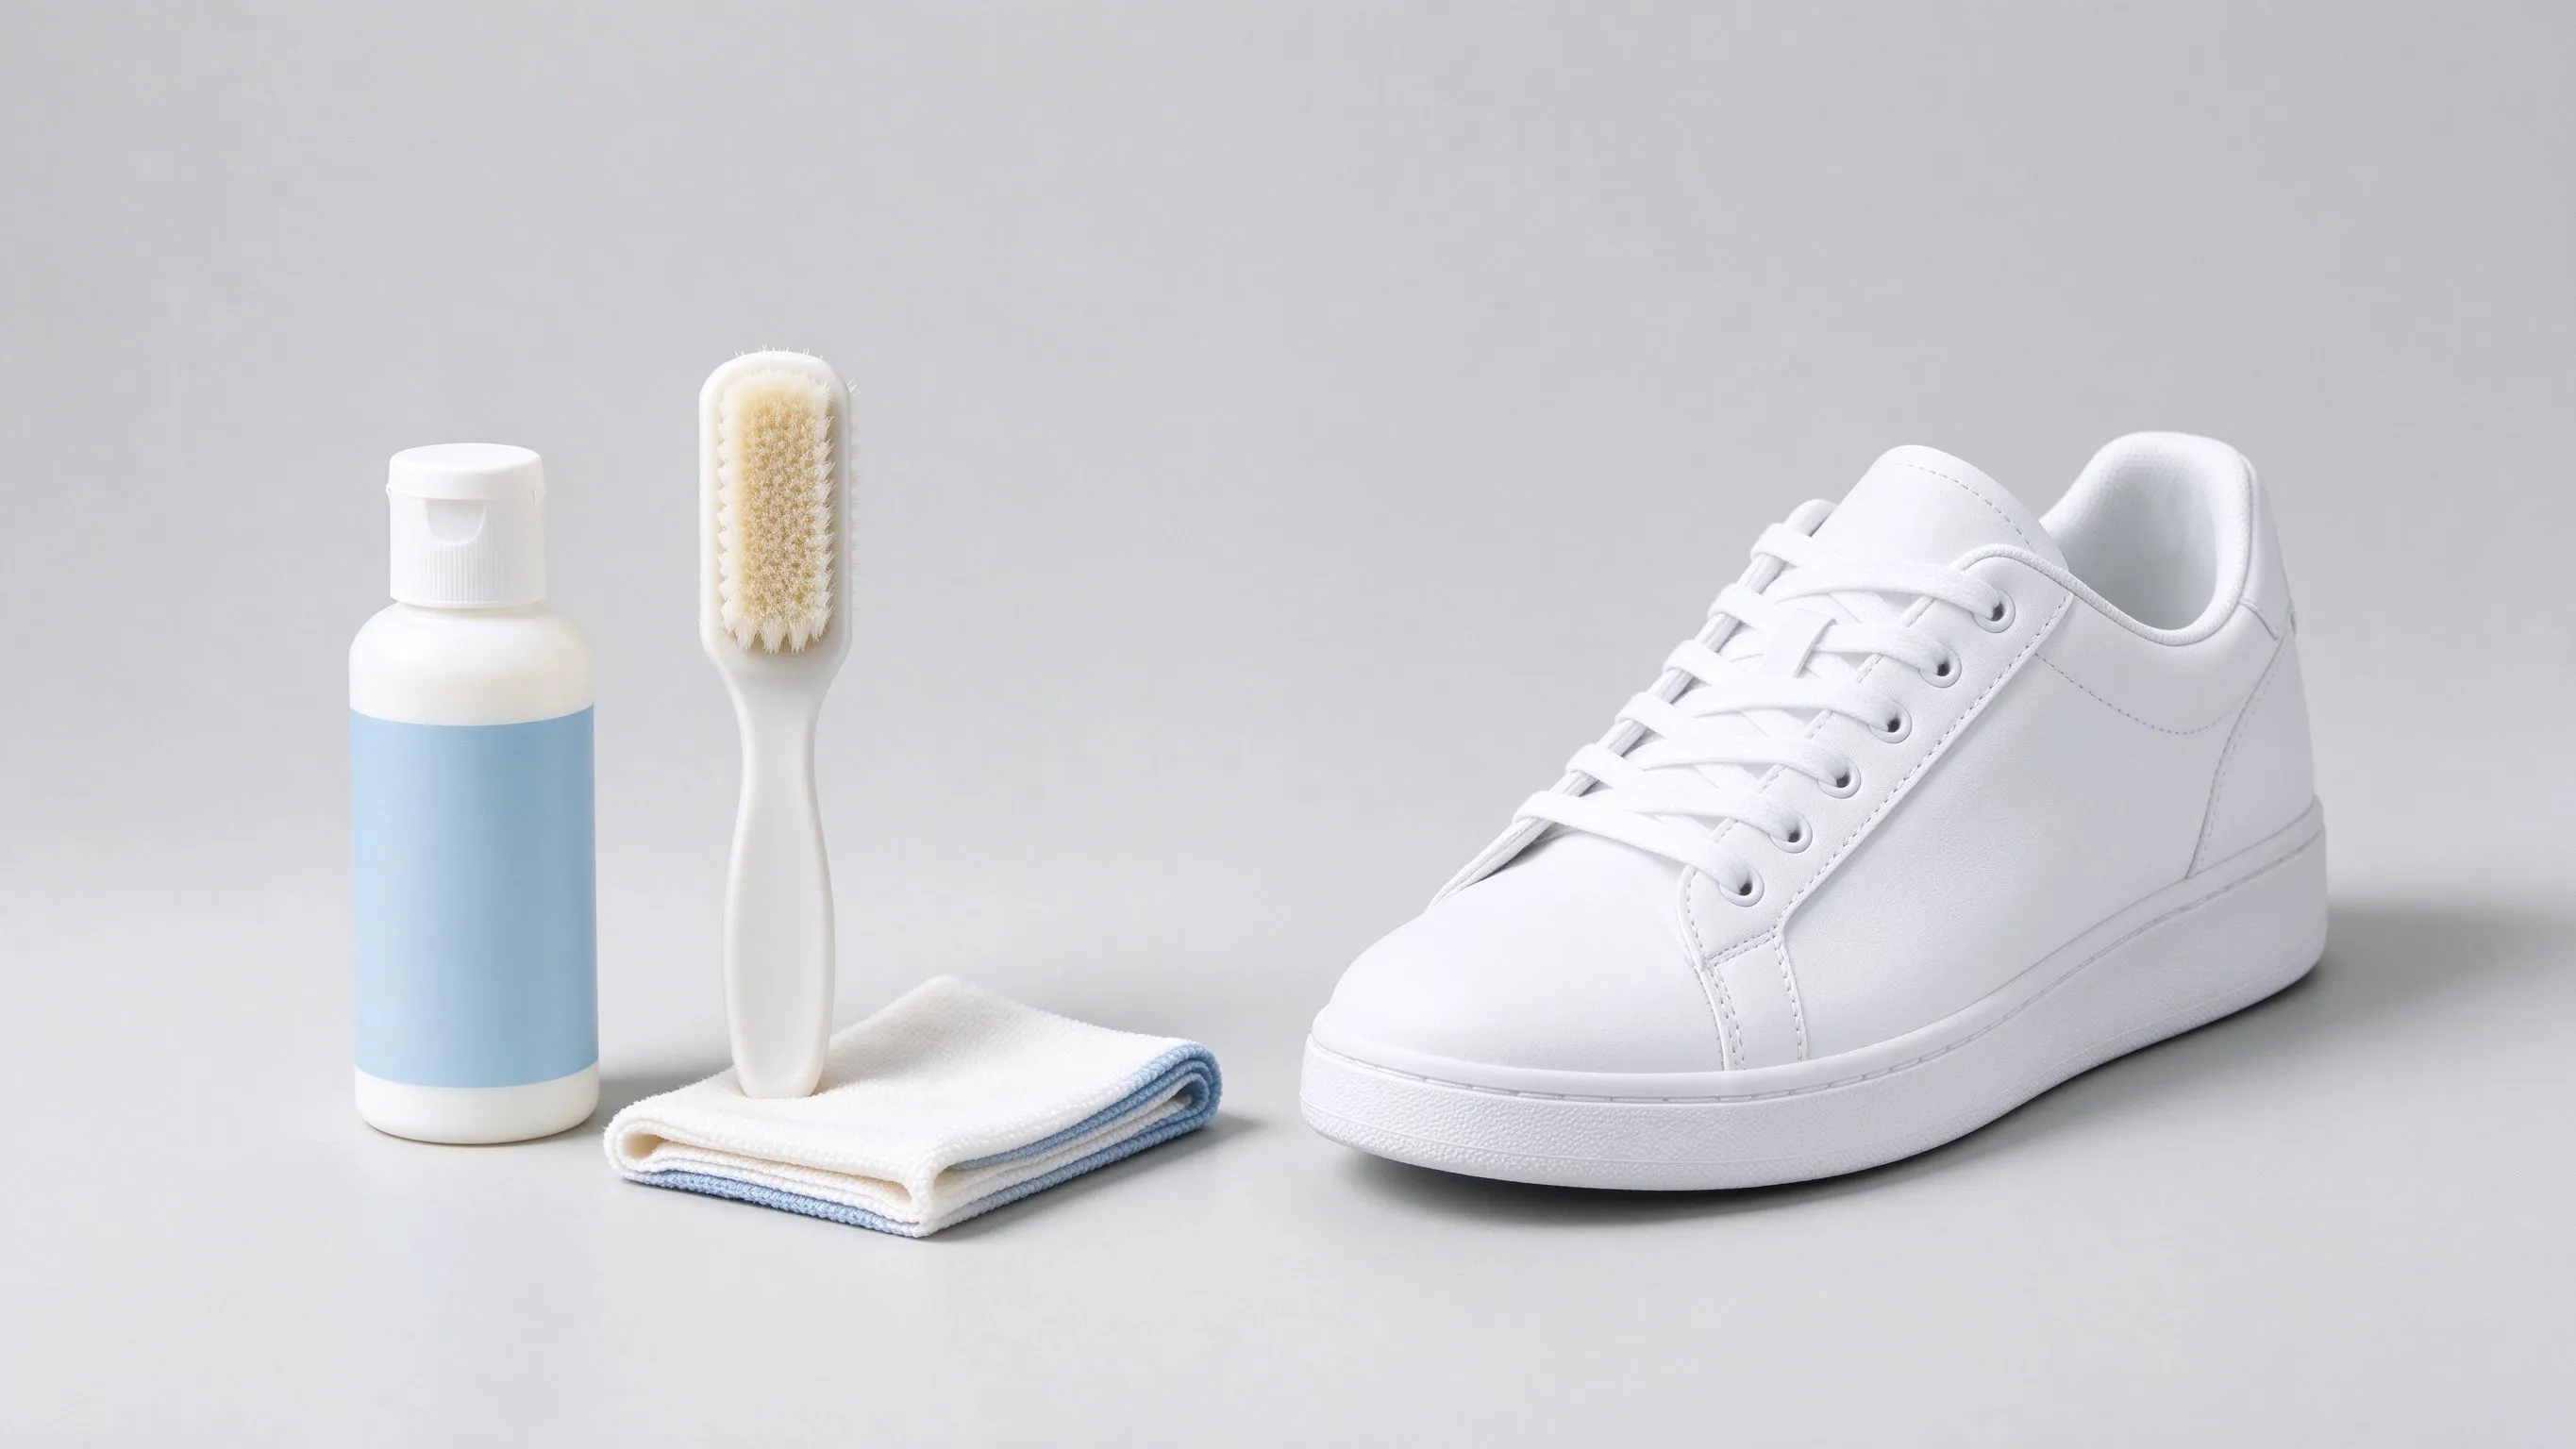
Overview. This article lays out a simple, step-by-step plan for starting a sneaker care routine with a sneaker care kit starter pack, so a beginner does not have to guess what to do first. It explains why sneakers need a different routine than dress shoes, walks through the care cycle in four stages, shows how to turn those stages into a habit that fits a busy week, and points out where the starter pack is enough and where an extra tool will be added later. By the end you should know exactly how to use the starter pack from the day it arrives.
Why Sneakers Need Their Own Routine
Sneakers are built differently from dress shoes. The upper is often mesh, knit or canvas, the sole is soft rubber, and the inside is a fabric lining that absorbs sweat. A polish-and-buff routine designed for smooth leather does little for these surfaces; sneakers need dirt lifted, fabric cleaned and rubber kept fresh instead. That is why a sneaker care kit starter pack centres on a cleaner, a soft brush and a cloth rather than on wax and shine.
The good news is that the routine itself is simpler than it looks. Almost everything a pair of sneakers needs can be covered by four stages repeated in the same order, and a starter pack is built exactly for that.
The Care Cycle in Four Stages
Each stage prepares the sneaker for the next one. Skipping a stage does not save time; it makes the next clean harder. The table below shows the cycle at a glance.
| Stage | What You Do | Why It Matters |
| Stage 1. Lift loose dirt | Run a dry brush or a soft cloth over the upper and the outsole | Stops grit from being rubbed into the fabric during cleaning |
| Stage 2. Clean | Work a small amount of cleaner into mesh, knit and rubber with light circles | Removes sweat, dust and street grime while they are still fresh |
| Stage 3. Dry | Let the sneakers air dry away from direct heat, padded to hold their shape | Keeps the lining fresh and prevents whites from turning dull |
| Stage 4. Protect | Apply a light protector layer to clean, dry sneakers | Makes the next clean easier and slows stains |
Stage 1 — Lift the Loose Dirt First
Before any cleaner touches the sneaker, brush off loose dust and dried grit. Work from the laces down to the outsole, and pay attention to the seams around the toe and heel where dirt collects. This stage takes very little time and it is the one that prevents the fabric from being scrubbed with grit that is still sitting on the surface. If the sneakers are damp, let them dry before continuing.
Stage 2 — Clean With a Light Hand
Pick up a small amount of cleaner on a soft brush or cloth and work it in gentle circles over the mesh, knit and rubber. You do not need a lot of product; a little goes further than you expect. Let the cleaner sit briefly, then wipe it off with a damp cloth. Rubbing hard is the most common mistake — sneaker fabric is strong, but harsh scrubbing wears the surface and makes the next clean harder.
Stage 3 — Dry the Right Way
How you dry matters as much as how you clean. Air drying away from radiators and direct sunlight protects both the fabric and the rubber. Stuffing the sneakers with paper or leaving them on a shoe tree holds the shape while the lining dries. Never force-dry sneakers with a hair dryer or leave them on a heater; heat can yellow white soles and shrink knit fabric.
Stage 4 — Protect Before the Next Wear
Once the sneakers are fully dry, a light protector layer keeps dirt and moisture from soaking in. The protector goes on clean, dry fabric and needs no rubbing — one light, even pass is enough. This stage is easy to skip, but it is the one that keeps the next clean short.
Turning the Cycle Into a Habit
A routine works only when it fits real life. Keep it simple: lift loose dirt after every wear, run a full clean when the sneakers start to look grey, and protect after each deep clean. Between cleans, a quick wipe with a damp cloth handles most everyday marks. If you own several pairs, rotate them so each pair gets time to dry fully between wears; a rested pair stays fresher and needs less cleaning overall.
Start with the after-wear brush-off alone for the first few days; it is the easiest habit to keep. Add the full clean once that feels automatic, and the routine builds without any big change to your week. Most beginners give up not because caring for sneakers is hard, but because they try to do everything at once. A small start that sticks beats a grand plan that does not.
Don’t Forget the Laces and Insoles
The laces and the insoles collect the same dirt as the rest of the sneaker, and they are the easiest parts to overlook. Laces can be wiped with the same cloth and a little cleaner, or rinsed gently on their own and left to dry. Insoles benefit from airing after every wear and a dry wipe when they start to smell. Keeping these two small parts in the routine takes almost no extra time and keeps the whole sneaker looking fresh.
Where the Starter Pack Stops
A starter pack covers the four stages well. It does not cover everything, and it does not have to. Suede sneakers will eventually want a dedicated suede brush, and leather panels benefit from a small conditioner, but those are additions for later, not reasons to buy a bigger box now. Start with the cleaner, the brush and the cloth, build the habit, and add one item at a time as your sneakers ask for it. The cleaner itself runs out first and is refillable, so the starter pack keeps working long after the first bottle is gone.
Yinghuameng builds its sneaker care starter packs around this exact cycle — a gentle cleaner, a soft brush and a smooth cloth, sized for mesh, knit and rubber — so the first kit you buy already matches the routine above (yhmshoecare.com).
Frequently Asked Questions
- Can I use a dress shoe kit on my sneakers?Not really. Dress shoe kits centre on polish and buffing; sneakers need cleaning, drying and protection. A sneaker care kit starter pack is built for the surfaces a sneaker actually has.
- How often should I clean my sneakers?Lift loose dirt after each wear and do a full clean when the fabric starts to look grey. Frequent light cleaning beats occasional heavy scrubbing.
- Can I put my sneakers in the washing machine?You can, but it is hard on the glue and the shape. A starter pack clean with a brush and cloth is gentler and keeps the sneaker intact longer.
- Why did my white soles turn dull?Dirt and sun exposure are the usual causes. Regular cleaning and air drying away from direct sunlight slow the dulling.
- Do I need to protect new sneakers right away?A light protector layer on clean, dry sneakers is the best start. It makes the first stain easier to lift later.
- How do I dry sneakers without ruining them?Air dry away from heat and sunlight, padded to hold the shape. Skip the hair dryer and the radiator.
- Should I clean the inside of my sneakers?The lining absorbs sweat, so it benefits from airing after each wear and a gentle wipe when it starts to smell. The kit cloth handles the surface; airing handles the rest.
- Is a dry brush the same as a cleaning brush?No. A dry brush lifts loose grit before any product; a cleaning brush carries the cleaner into the fabric. Using the right one for each stage keeps the routine clean.
- Can a starter pack handle suede sneakers?A basic starter pack cleans the rubber and laces safely, but suede wants its own brush and protector. Add those when your rotation includes suede.
- What is the fastest daily habit?After each wear, brush off the loose dirt and let the sneakers air out. That single habit keeps deep cleans short and your rotation fresher.
Editor’s Note. This article describes a general sneaker care routine and product categories; it contains no performance claims or numerical data. Fabrics, finishes and local conditions vary, so always test any product on a small hidden area first, follow the label instructions, and consult a professional for valuable or limited-edition sneakers.
Overview. This article lays out a simple, step-by-step plan for starting a sneaker care routine with a sneaker care kit starter pack, so a beginner does not have to guess what to do first. It explains why sneakers need a different routine than dress shoes, walks through the care cycle in four stages, shows how to turn those stages into a habit that fits a busy week, and points out where the starter pack is enough and where an extra tool will be added later. By the end you should know exactly how to use the starter pack from the day it arrives.
Why Sneakers Need Their Own Routine
Sneakers are built differently from dress shoes. The upper is often mesh, knit or canvas, the sole is soft rubber, and the inside is a fabric lining that absorbs sweat. A polish-and-buff routine designed for smooth leather does little for these surfaces; sneakers need dirt lifted, fabric cleaned and rubber kept fresh instead. That is why a sneaker care kit starter pack centres on a cleaner, a soft brush and a cloth rather than on wax and shine.
The good news is that the routine itself is simpler than it looks. Almost everything a pair of sneakers needs can be covered by four stages repeated in the same order, and a starter pack is built exactly for that.
The Care Cycle in Four Stages
Each stage prepares the sneaker for the next one. Skipping a stage does not save time; it makes the next clean harder. The table below shows the cycle at a glance.
| Stage | What You Do | Why It Matters |
| Stage 1. Lift loose dirt | Run a dry brush or a soft cloth over the upper and the outsole | Stops grit from being rubbed into the fabric during cleaning |
| Stage 2. Clean | Work a small amount of cleaner into mesh, knit and rubber with light circles | Removes sweat, dust and street grime while they are still fresh |
| Stage 3. Dry | Let the sneakers air dry away from direct heat, padded to hold their shape | Keeps the lining fresh and prevents whites from turning dull |
| Stage 4. Protect | Apply a light protector layer to clean, dry sneakers | Makes the next clean easier and slows stains |
Stage 1 — Lift the Loose Dirt First
Before any cleaner touches the sneaker, brush off loose dust and dried grit. Work from the laces down to the outsole, and pay attention to the seams around the toe and heel where dirt collects. This stage takes very little time and it is the one that prevents the fabric from being scrubbed with grit that is still sitting on the surface. If the sneakers are damp, let them dry before continuing.
Stage 2 — Clean With a Light Hand
Pick up a small amount of cleaner on a soft brush or cloth and work it in gentle circles over the mesh, knit and rubber. You do not need a lot of product; a little goes further than you expect. Let the cleaner sit briefly, then wipe it off with a damp cloth. Rubbing hard is the most common mistake — sneaker fabric is strong, but harsh scrubbing wears the surface and makes the next clean harder.
Stage 3 — Dry the Right Way
How you dry matters as much as how you clean. Air drying away from radiators and direct sunlight protects both the fabric and the rubber. Stuffing the sneakers with paper or leaving them on a shoe tree holds the shape while the lining dries. Never force-dry sneakers with a hair dryer or leave them on a heater; heat can yellow white soles and shrink knit fabric.
Stage 4 — Protect Before the Next Wear
Once the sneakers are fully dry, a light protector layer keeps dirt and moisture from soaking in. The protector goes on clean, dry fabric and needs no rubbing — one light, even pass is enough. This stage is easy to skip, but it is the one that keeps the next clean short.
Turning the Cycle Into a Habit
A routine works only when it fits real life. Keep it simple: lift loose dirt after every wear, run a full clean when the sneakers start to look grey, and protect after each deep clean. Between cleans, a quick wipe with a damp cloth handles most everyday marks. If you own several pairs, rotate them so each pair gets time to dry fully between wears; a rested pair stays fresher and needs less cleaning overall.
Start with the after-wear brush-off alone for the first few days; it is the easiest habit to keep. Add the full clean once that feels automatic, and the routine builds without any big change to your week. Most beginners give up not because caring for sneakers is hard, but because they try to do everything at once. A small start that sticks beats a grand plan that does not.
Don’t Forget the Laces and Insoles
The laces and the insoles collect the same dirt as the rest of the sneaker, and they are the easiest parts to overlook. Laces can be wiped with the same cloth and a little cleaner, or rinsed gently on their own and left to dry. Insoles benefit from airing after every wear and a dry wipe when they start to smell. Keeping these two small parts in the routine takes almost no extra time and keeps the whole sneaker looking fresh.
Where the Starter Pack Stops
A starter pack covers the four stages well. It does not cover everything, and it does not have to. Suede sneakers will eventually want a dedicated suede brush, and leather panels benefit from a small conditioner, but those are additions for later, not reasons to buy a bigger box now. Start with the cleaner, the brush and the cloth, build the habit, and add one item at a time as your sneakers ask for it. The cleaner itself runs out first and is refillable, so the starter pack keeps working long after the first bottle is gone.
Yinghuameng builds its sneaker care starter packs around this exact cycle — a gentle cleaner, a soft brush and a smooth cloth, sized for mesh, knit and rubber — so the first kit you buy already matches the routine above (yhmshoecare.com).
Frequently Asked Questions
- Can I use a dress shoe kit on my sneakers?Not really. Dress shoe kits centre on polish and buffing; sneakers need cleaning, drying and protection. A sneaker care kit starter pack is built for the surfaces a sneaker actually has.
- How often should I clean my sneakers?Lift loose dirt after each wear and do a full clean when the fabric starts to look grey. Frequent light cleaning beats occasional heavy scrubbing.
- Can I put my sneakers in the washing machine?You can, but it is hard on the glue and the shape. A starter pack clean with a brush and cloth is gentler and keeps the sneaker intact longer.
- Why did my white soles turn dull?Dirt and sun exposure are the usual causes. Regular cleaning and air drying away from direct sunlight slow the dulling.
- Do I need to protect new sneakers right away?A light protector layer on clean, dry sneakers is the best start. It makes the first stain easier to lift later.
- How do I dry sneakers without ruining them?Air dry away from heat and sunlight, padded to hold the shape. Skip the hair dryer and the radiator.
- Should I clean the inside of my sneakers?The lining absorbs sweat, so it benefits from airing after each wear and a gentle wipe when it starts to smell. The kit cloth handles the surface; airing handles the rest.
- Is a dry brush the same as a cleaning brush?No. A dry brush lifts loose grit before any product; a cleaning brush carries the cleaner into the fabric. Using the right one for each stage keeps the routine clean.
- Can a starter pack handle suede sneakers?A basic starter pack cleans the rubber and laces safely, but suede wants its own brush and protector. Add those when your rotation includes suede.
- What is the fastest daily habit?After each wear, brush off the loose dirt and let the sneakers air out. That single habit keeps deep cleans short and your rotation fresher.
Editor’s Note. This article describes a general sneaker care routine and product categories; it contains no performance claims or numerical data. Fabrics, finishes and local conditions vary, so always test any product on a small hidden area first, follow the label instructions, and consult a professional for valuable or limited-edition sneakers.
Previous: No more data
Contact Us
Tel: +86 510 8659 6258
Address: No.3 Beihuan Road, Yuecheng Town, Jiangyin, Jiangsu Province, China.

Copyright © 2026 Jiangyin Yinghuameng Houseware Co., Ltd.