
SEARCH WHAT YOU WANT
Emergency Shoe Care on the Road: How to Fix Scuffs, Rain Spots and Creases Without a Home Setup
Time:2026-10-28
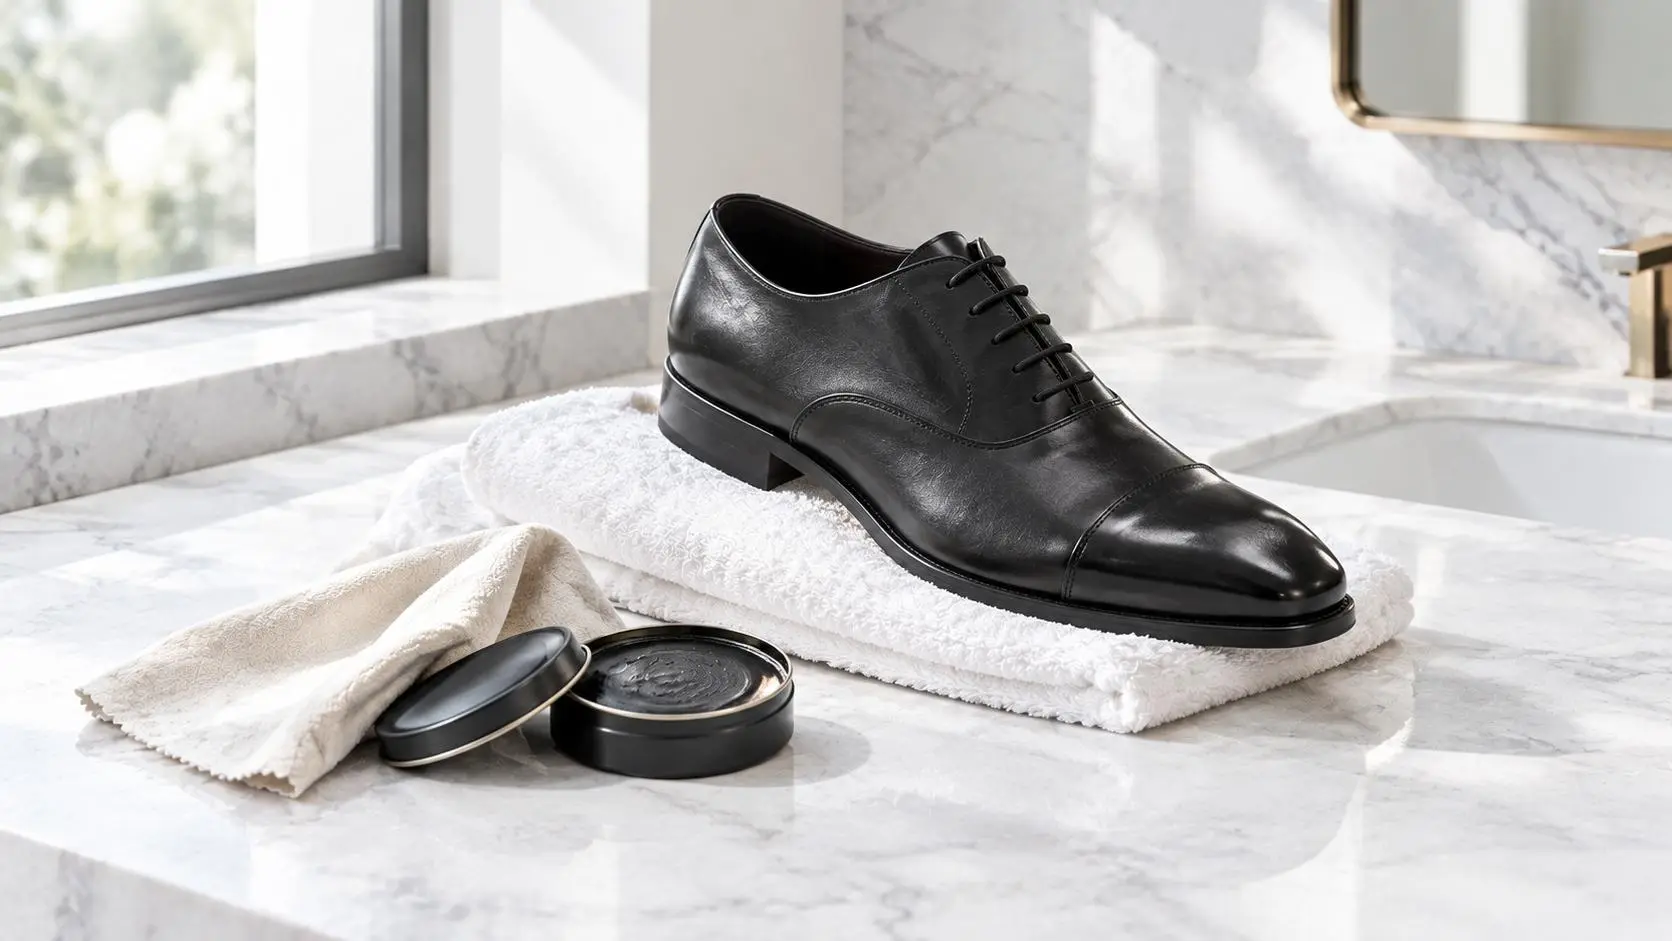
Overview. This article is the on-the-road rescue guide for shoes. It walks through the small problems that happen while traveling — scuffed toes after a long walk, white spots after rain, creases on a suit shoe, and a dull pair before a meeting — and explains how to handle each with the few items you actually carry. No workstation, no full shelf, just a small pouch and a hotel room. By the end you should know what to reach for first when a shoe looks tired ten minutes before you need to walk out the door.
The Three Emergencies That Actually Happen
Travel shoe problems fall into three groups. The first is surface damage: scuffs, scrapes and marks picked up on sidewalks. The second is water damage: spots and dull patches after rain or a wet floor. The third is wear marks: creases, faded patches and a generally dull finish after hours of walking. Almost every other problem on the road is a version of one of these three.
The good news is that all three can be handled with the same small kit. The table below matches each emergency to the tool you should reach for.
|
Emergency |
First Tool |
Second Step |
|
Light scuff on toe |
Dry buffing cloth |
Tiny layer of neutral cream, then buff |
|
Rain spot / white patch |
Wait for the shoe to dry |
Buff, then thin neutral cream |
|
Dull finish before a meeting |
Brush off dust |
Thin cream, wait one minute, buff |
|
Creased vamp |
Neutral cream into the crease |
Light buff; avoid heavy wax |
|
Wet shoe after rain |
Air dry away from heat |
Rest overnight, condition next day |
Scuffed Toes After a Long Walk
A scuff is usually a surface mark, not damage. If it is a light scrape on the toe or heel, buff the area firmly with a dry cloth first — most light scuffs disappear with a good rub. If the mark is still visible, apply a tiny amount of neutral cream, let it sit for a minute, and buff again. Do not load the area — a thin layer blends better than a thick one.
If the scuff is a deeper scrape that has actually lifted colour, a matching cream in your shoe’s shade helps. On the road, this is where a neutral-only kit reaches its limit: you can blend and protect, but you cannot rebuild colour. Keep a small matching cream in your bag if your shoes are a common colour like black or dark brown.
Rain Spots and White Patches
Water spots happen when moisture dries unevenly on the leather. Do not rub the spot while it is wet — that pushes the mark in. Let the shoe air dry completely first, away from direct heat or a hairdryer. Once dry, buff the area with a dry cloth, then apply a thin layer of neutral cream and buff again. Most spots disappear once the leather is re-conditioned.
If you know rain is coming, prevention is easier than cure. A quick pass of protector spray before you leave in the morning stops most spots before they start. After a wet day, let the shoes rest overnight with a shoe tree if you have one — even a wad of newspaper inside helps the leather dry in shape.
Creases and a Dull Finish
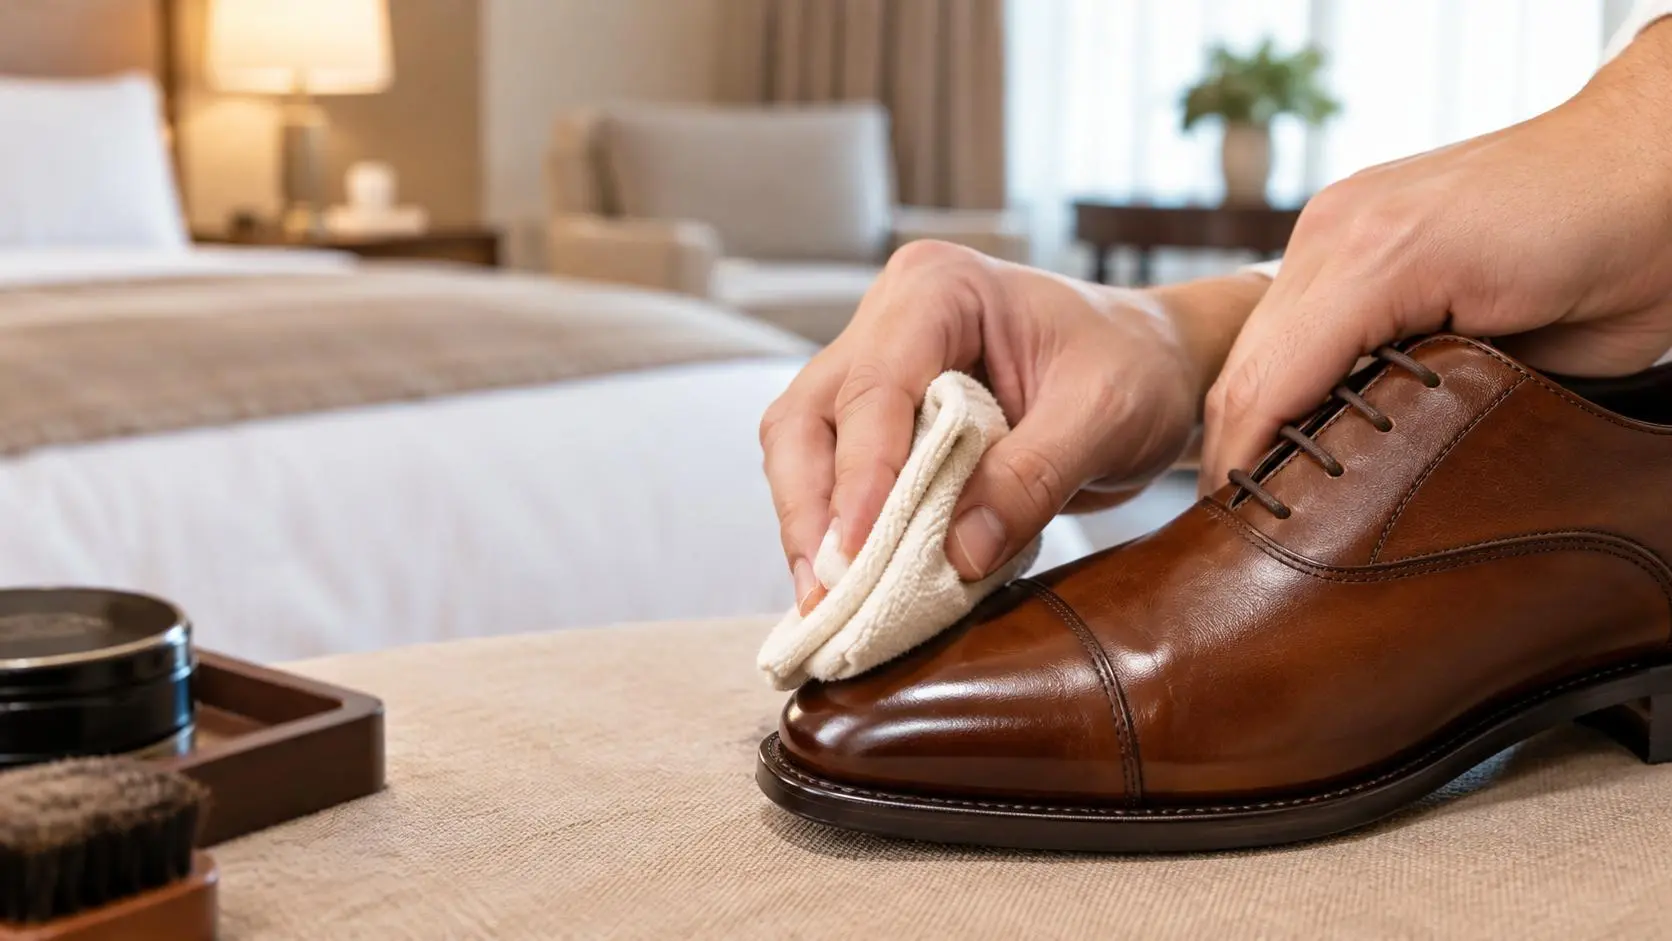
Creases on the vamp are normal from walking and cannot be polished away. What you can do is keep the leather supple so the creases look cared for rather than cracked. A thin layer of neutral cream worked into the crease, followed by buffing, keeps the leather flexible. Heavy wax over a crease will crack — avoid it.
A dull finish before a meeting is the easiest emergency. Brush or wipe the dust off, apply a thin cream layer, wait a minute, buff with the cloth. Ninety seconds later the shoe looks even again. You do not need a mirror shine — you need a clean, consistent finish.
The Hotel Room Workstation
You do not need a table. Lay a towel on the bathroom counter, put the shoe on your knee, and work under the room’s brightest light. Warm hotel room air helps the cream set faster, so the wait between layers is shorter than at home. Use a light touch — hotel lights are brighter than you expect, and heavy product shows up more.
Yinghuameng’s travel pouches are built around this rescue workflow: a mini neutral cream that handles scuffs and spots, a small buffing cloth for quick touches, and a compact applicator that fits on a hotel counter (yhmshoecare.com).
A Before-Meeting Rescue Routine
When you have ten minutes before you need to walk out, the routine is simple. Sit on the edge of the bed, lay the buffing cloth across your lap, and take the shoes one at a time. First wipe away any dust with the dry side of the cloth. Then pick up a tiny amount of neutral cream on the dauber and work it into the toe and heel in small circles — you do not need the whole upper. Wait two minutes while you finish getting dressed, then buff with the clean side of the cloth. The shoe looks even and cared for, not glassy. This is the look that matters in a meeting: clean and consistent, not a mirror finish. Resist the urge to add more layers — one thin cream pass is enough. Thick product on a hotel counter never buffs out fully, and you will spend the rest of the morning worrying about it. If the shoes are leather, this routine also works on the go in the airport bathroom, with the pouch on the sink edge — the light there is surprisingly good for spotting streaks.
What Not to Do
· Do not use a hairdryer or a radiator to dry a wet shoe — heat cracks leather.
· Do not keep applying cream to a scuff that will not disappear — it is deeper than surface care can fix.
· Do not buff a wet spot — wait until the leather is dry.
· Do not use a paper towel — it leaves lint and can scratch.
· Do not pile wax on creases — wax cracks where the shoe flexes.
Frequently Asked Questions
Q1: How do I remove a scuff without polish?
Buff firmly with a dry cloth first. Most light scuffs disappear with this alone; only then reach for cream.
Q2: My shoes got rained on — what do I do first?
Let them air dry away from heat. Do not rub the spot. Condition once dry.
Q3: Can I use a hairdryer to dry them faster?
No. Heat dries out leather and causes cracking. Air drying is the safe method.
Q4: How do I make shoes look presentable ten minutes before a meeting?
Brush off dust, thin layer of cream, wait a minute, buff with the cloth. A clean even finish is the goal, not a mirror shine.
Q5: Why is there a white spot on my brown shoe after rain?
It is a water mark from uneven drying. Once the shoe is dry, buff and condition; most spots fade after conditioning.
Q6: Can I use hotel towels to buff my shoes?
Better to pack your own cloth. Hotel towels are thick and leave lint; a small buffing cloth works far better.
Q7: How do I fix a deep scrape that shows bare leather?
Surface care cannot rebuild colour. A matching cream helps, but for valuable shoes, see a repairer once you are home.
Q8: Do I need to pack a shoe tree for travel?
Not for short trips. Stuffing the shoe with newspaper overnight does the same job on the road.
Q9: Why does my shoe look duller after I buffed it?
Usually too much product or buffing before it set. Wipe off the excess, let the shoe rest, and try a thinner layer.
Q10: What is the fastest emergency fix for any shoe?
A dry cloth buff. It fixes most surface dullness and light scuffs in seconds, before you even open the polish tin.
Editor’s Note. This article describes general on-the-road care practice and product categories; it contains no performance claims, brand rankings or numerical data. Leather condition varies, so test any product on a small unseen area first, follow label instructions, and leave deep colour restoration or structural damage to a professional shoe repairer.
Overview. This article is the on-the-road rescue guide for shoes. It walks through the small problems that happen while traveling — scuffed toes after a long walk, white spots after rain, creases on a suit shoe, and a dull pair before a meeting — and explains how to handle each with the few items you actually carry. No workstation, no full shelf, just a small pouch and a hotel room. By the end you should know what to reach for first when a shoe looks tired ten minutes before you need to walk out the door.
The Three Emergencies That Actually Happen
Travel shoe problems fall into three groups. The first is surface damage: scuffs, scrapes and marks picked up on sidewalks. The second is water damage: spots and dull patches after rain or a wet floor. The third is wear marks: creases, faded patches and a generally dull finish after hours of walking. Almost every other problem on the road is a version of one of these three.
The good news is that all three can be handled with the same small kit. The table below matches each emergency to the tool you should reach for.
|
Emergency |
First Tool |
Second Step |
|
Light scuff on toe |
Dry buffing cloth |
Tiny layer of neutral cream, then buff |
|
Rain spot / white patch |
Wait for the shoe to dry |
Buff, then thin neutral cream |
|
Dull finish before a meeting |
Brush off dust |
Thin cream, wait one minute, buff |
|
Creased vamp |
Neutral cream into the crease |
Light buff; avoid heavy wax |
|
Wet shoe after rain |
Air dry away from heat |
Rest overnight, condition next day |
Scuffed Toes After a Long Walk
A scuff is usually a surface mark, not damage. If it is a light scrape on the toe or heel, buff the area firmly with a dry cloth first — most light scuffs disappear with a good rub. If the mark is still visible, apply a tiny amount of neutral cream, let it sit for a minute, and buff again. Do not load the area — a thin layer blends better than a thick one.
If the scuff is a deeper scrape that has actually lifted colour, a matching cream in your shoe’s shade helps. On the road, this is where a neutral-only kit reaches its limit: you can blend and protect, but you cannot rebuild colour. Keep a small matching cream in your bag if your shoes are a common colour like black or dark brown.
Rain Spots and White Patches
Water spots happen when moisture dries unevenly on the leather. Do not rub the spot while it is wet — that pushes the mark in. Let the shoe air dry completely first, away from direct heat or a hairdryer. Once dry, buff the area with a dry cloth, then apply a thin layer of neutral cream and buff again. Most spots disappear once the leather is re-conditioned.
If you know rain is coming, prevention is easier than cure. A quick pass of protector spray before you leave in the morning stops most spots before they start. After a wet day, let the shoes rest overnight with a shoe tree if you have one — even a wad of newspaper inside helps the leather dry in shape.
Creases and a Dull Finish
Creases on the vamp are normal from walking and cannot be polished away. What you can do is keep the leather supple so the creases look cared for rather than cracked. A thin layer of neutral cream worked into the crease, followed by buffing, keeps the leather flexible. Heavy wax over a crease will crack — avoid it.
A dull finish before a meeting is the easiest emergency. Brush or wipe the dust off, apply a thin cream layer, wait a minute, buff with the cloth. Ninety seconds later the shoe looks even again. You do not need a mirror shine — you need a clean, consistent finish.
The Hotel Room Workstation
You do not need a table. Lay a towel on the bathroom counter, put the shoe on your knee, and work under the room’s brightest light. Warm hotel room air helps the cream set faster, so the wait between layers is shorter than at home. Use a light touch — hotel lights are brighter than you expect, and heavy product shows up more.
Yinghuameng’s travel pouches are built around this rescue workflow: a mini neutral cream that handles scuffs and spots, a small buffing cloth for quick touches, and a compact applicator that fits on a hotel counter (yhmshoecare.com).
A Before-Meeting Rescue Routine
When you have ten minutes before you need to walk out, the routine is simple. Sit on the edge of the bed, lay the buffing cloth across your lap, and take the shoes one at a time. First wipe away any dust with the dry side of the cloth. Then pick up a tiny amount of neutral cream on the dauber and work it into the toe and heel in small circles — you do not need the whole upper. Wait two minutes while you finish getting dressed, then buff with the clean side of the cloth. The shoe looks even and cared for, not glassy. This is the look that matters in a meeting: clean and consistent, not a mirror finish. Resist the urge to add more layers — one thin cream pass is enough. Thick product on a hotel counter never buffs out fully, and you will spend the rest of the morning worrying about it. If the shoes are leather, this routine also works on the go in the airport bathroom, with the pouch on the sink edge — the light there is surprisingly good for spotting streaks.
What Not to Do
· Do not use a hairdryer or a radiator to dry a wet shoe — heat cracks leather.
· Do not keep applying cream to a scuff that will not disappear — it is deeper than surface care can fix.
· Do not buff a wet spot — wait until the leather is dry.
· Do not use a paper towel — it leaves lint and can scratch.
· Do not pile wax on creases — wax cracks where the shoe flexes.
Frequently Asked Questions
Q1: How do I remove a scuff without polish?
Buff firmly with a dry cloth first. Most light scuffs disappear with this alone; only then reach for cream.
Q2: My shoes got rained on — what do I do first?
Let them air dry away from heat. Do not rub the spot. Condition once dry.
Q3: Can I use a hairdryer to dry them faster?
No. Heat dries out leather and causes cracking. Air drying is the safe method.
Q4: How do I make shoes look presentable ten minutes before a meeting?
Brush off dust, thin layer of cream, wait a minute, buff with the cloth. A clean even finish is the goal, not a mirror shine.
Q5: Why is there a white spot on my brown shoe after rain?
It is a water mark from uneven drying. Once the shoe is dry, buff and condition; most spots fade after conditioning.
Q6: Can I use hotel towels to buff my shoes?
Better to pack your own cloth. Hotel towels are thick and leave lint; a small buffing cloth works far better.
Q7: How do I fix a deep scrape that shows bare leather?
Surface care cannot rebuild colour. A matching cream helps, but for valuable shoes, see a repairer once you are home.
Q8: Do I need to pack a shoe tree for travel?
Not for short trips. Stuffing the shoe with newspaper overnight does the same job on the road.
Q9: Why does my shoe look duller after I buffed it?
Usually too much product or buffing before it set. Wipe off the excess, let the shoe rest, and try a thinner layer.
Q10: What is the fastest emergency fix for any shoe?
A dry cloth buff. It fixes most surface dullness and light scuffs in seconds, before you even open the polish tin.
Editor’s Note. This article describes general on-the-road care practice and product categories; it contains no performance claims, brand rankings or numerical data. Leather condition varies, so test any product on a small unseen area first, follow label instructions, and leave deep colour restoration or structural damage to a professional shoe repairer.
Contact Us
Tel: +86 510 8659 6258
Address: No.3 Beihuan Road, Yuecheng Town, Jiangyin, Jiangsu Province, China.

Copyright © 2026 Jiangyin Yinghuameng Houseware Co., Ltd.